PS About shop portfolio

6.27.2014

M A K E :: Wall Hanging II

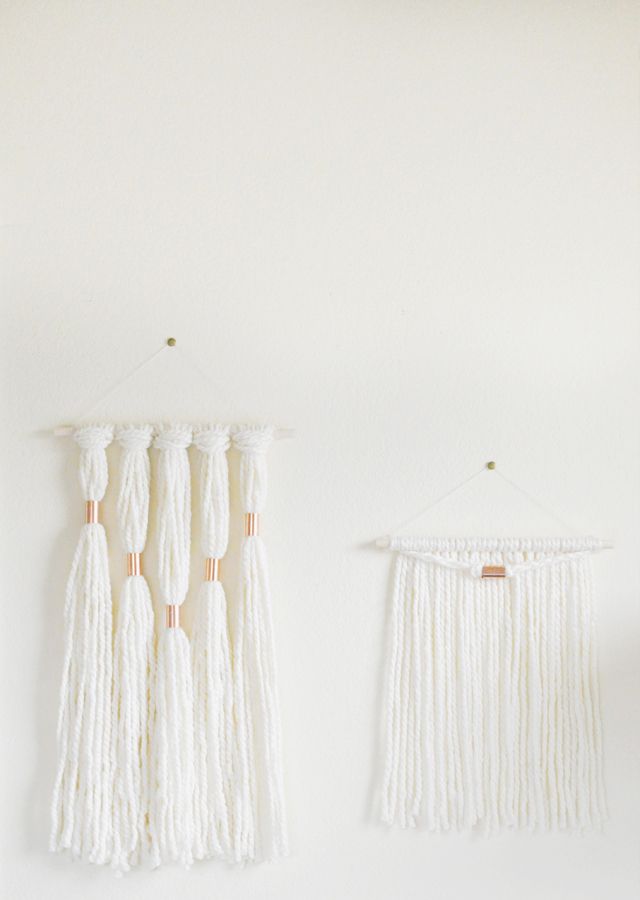
Well I had so much fun making the copper wall hangings that I had to make one more variation! This time I opted for a different shape and color, but I love the result. This project is budget friendly and can be completed by anyone with even the slightest crafting ability. Like, it's real easy y'all.

S U P P L I E S :: hoops (local craft store), yarn, wire, scissors, beads

 
1) Begin by cutting your yarn into 24 inch strands. 


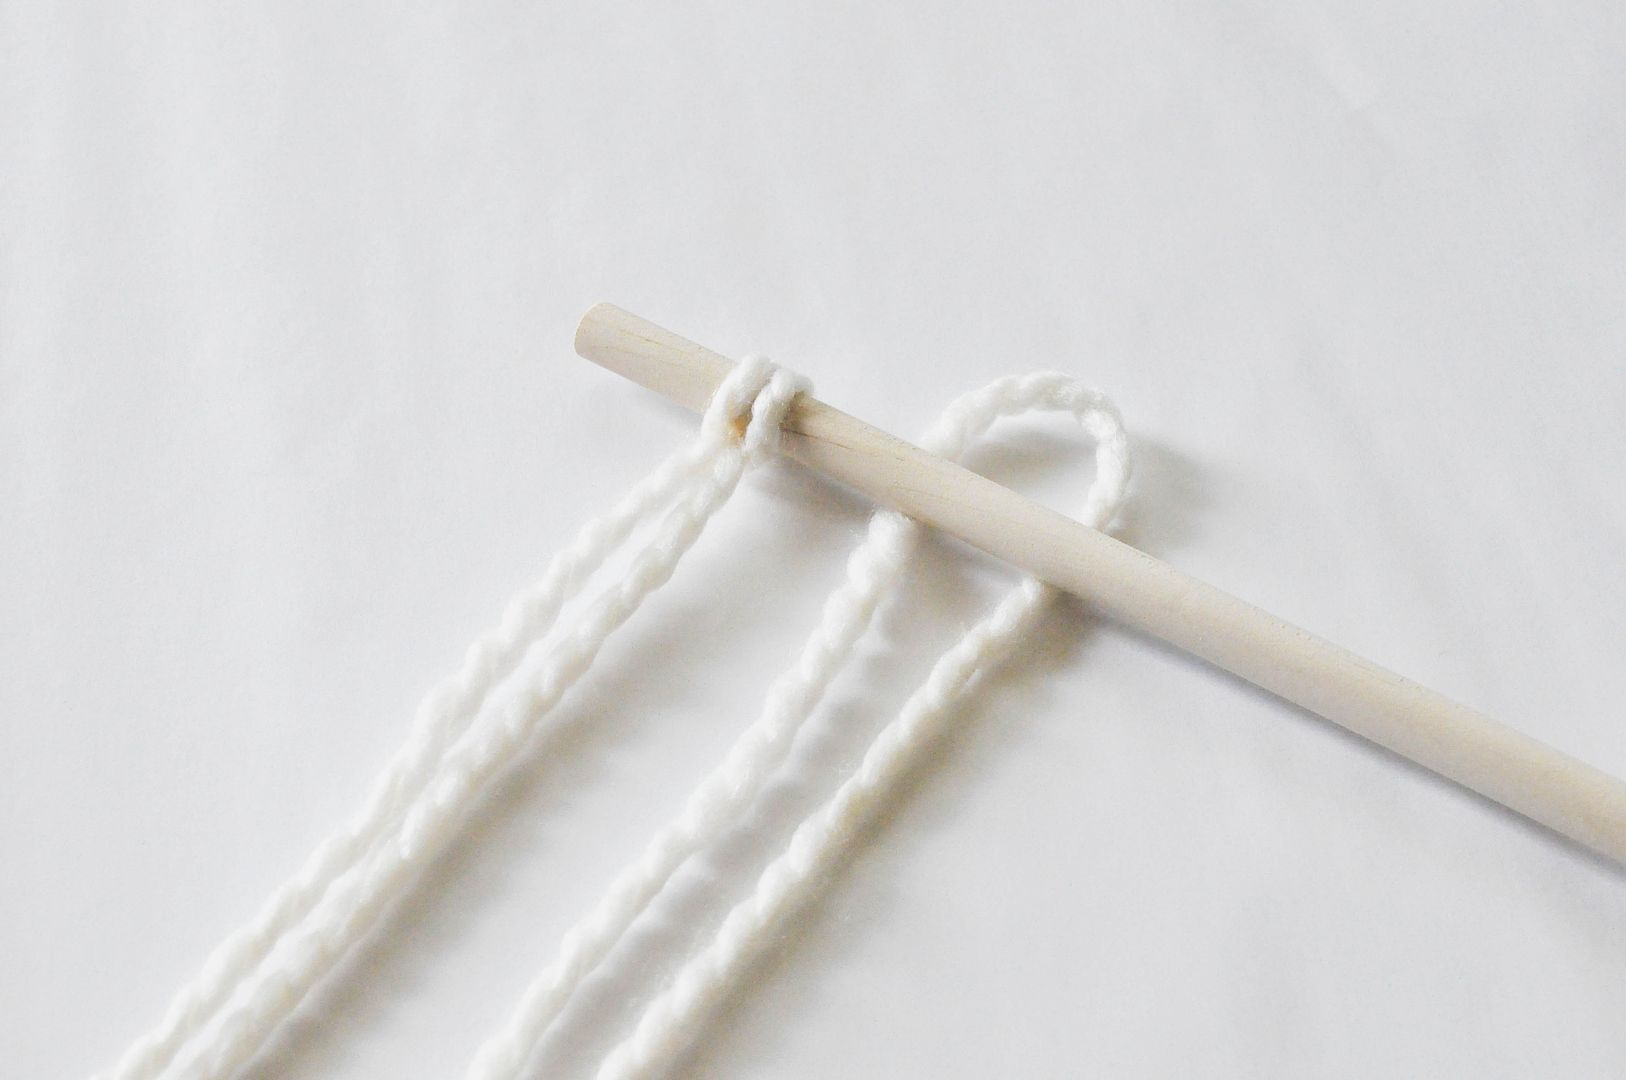
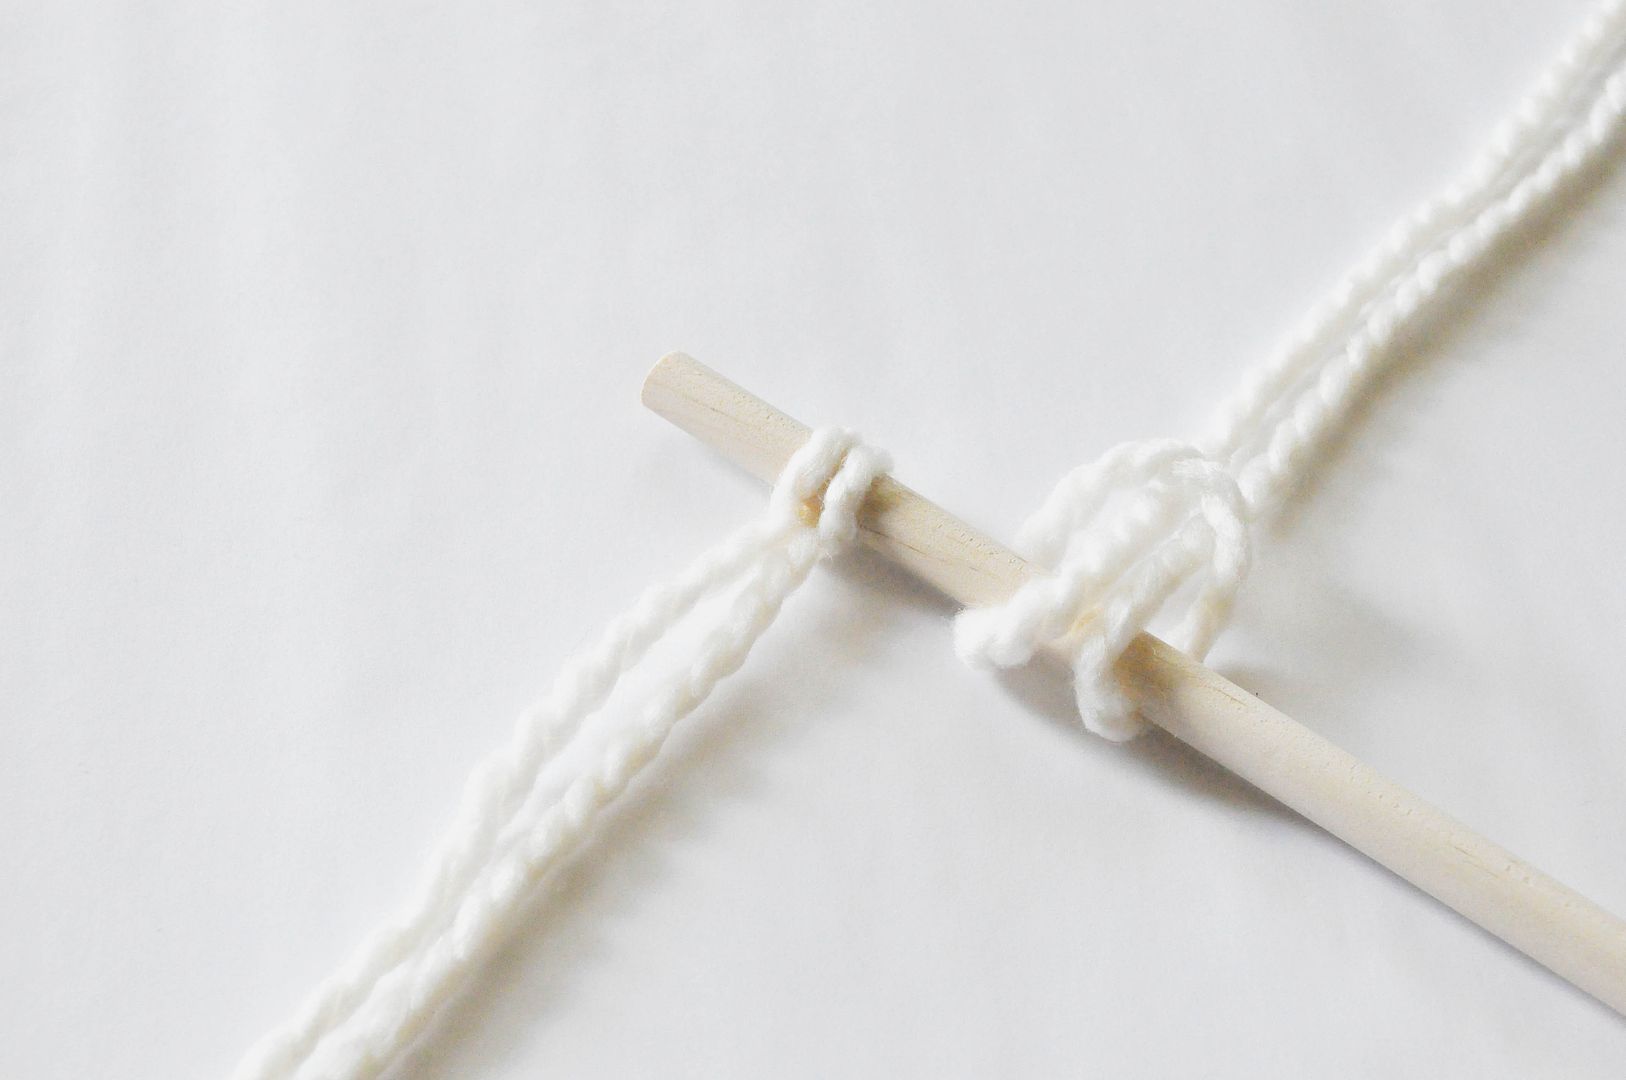
2) Using this technique, attach each of your strands to the hoop.


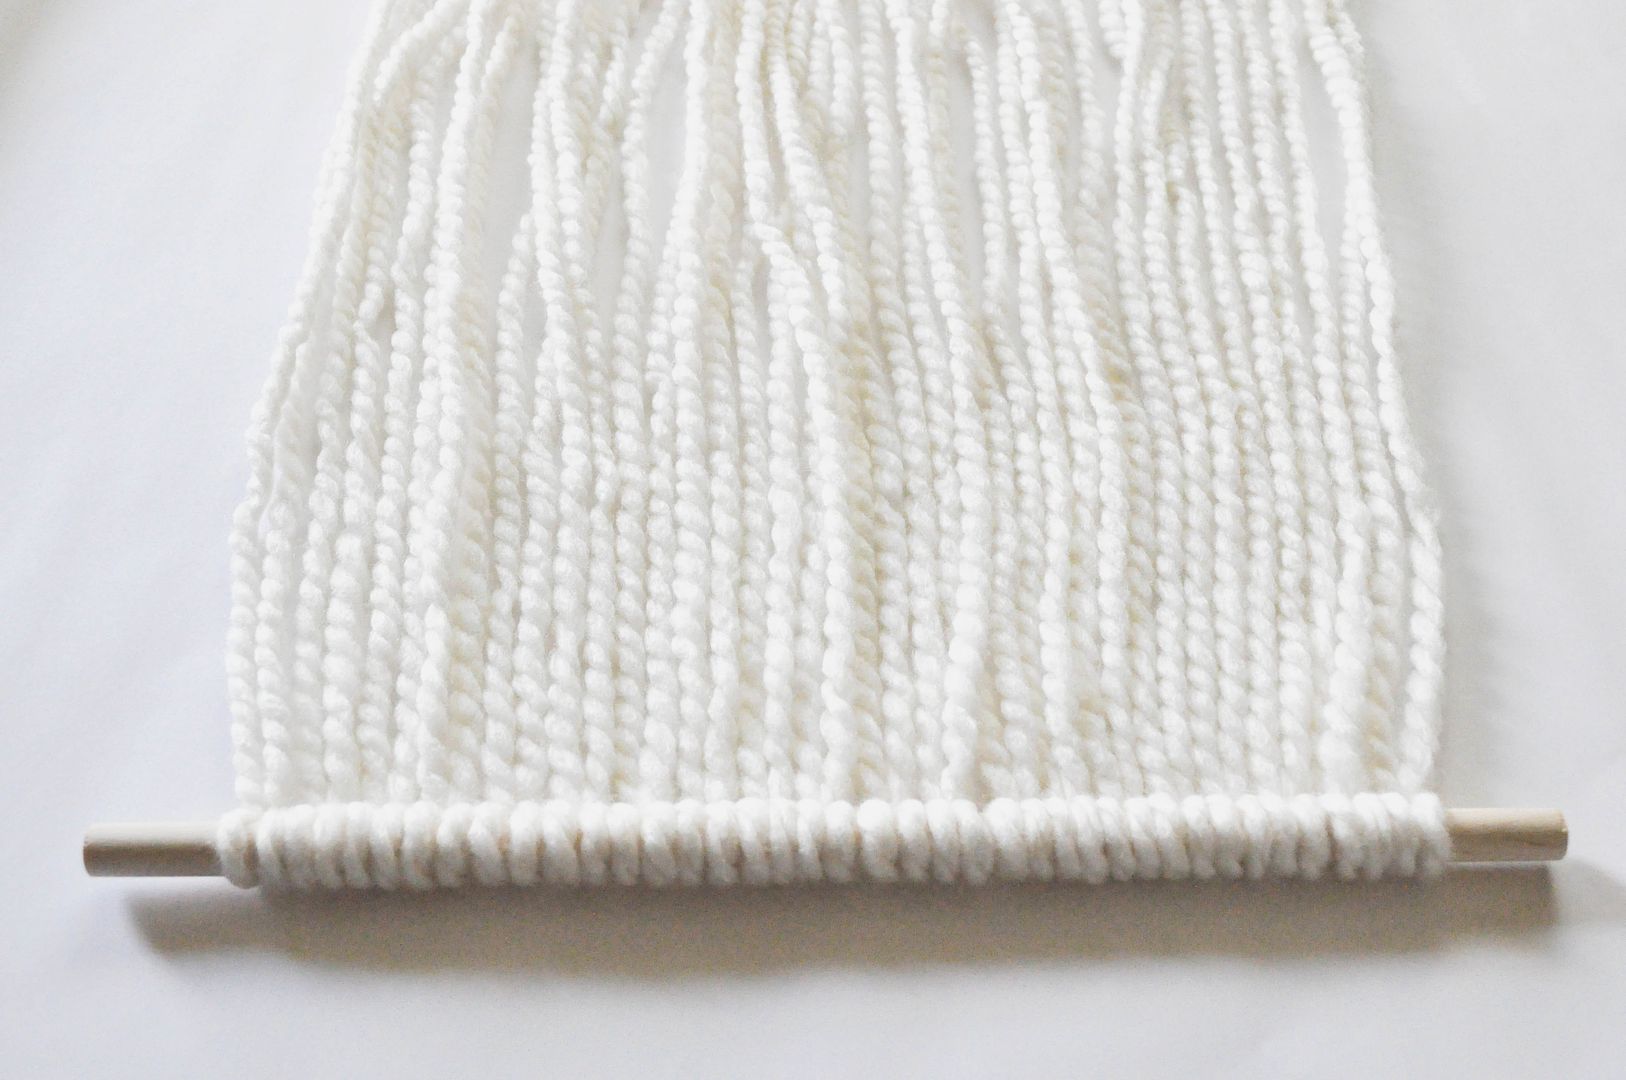
3) As you continue to add them move them towards the center, so they're nice and compact. They should cover the entire bottom half..


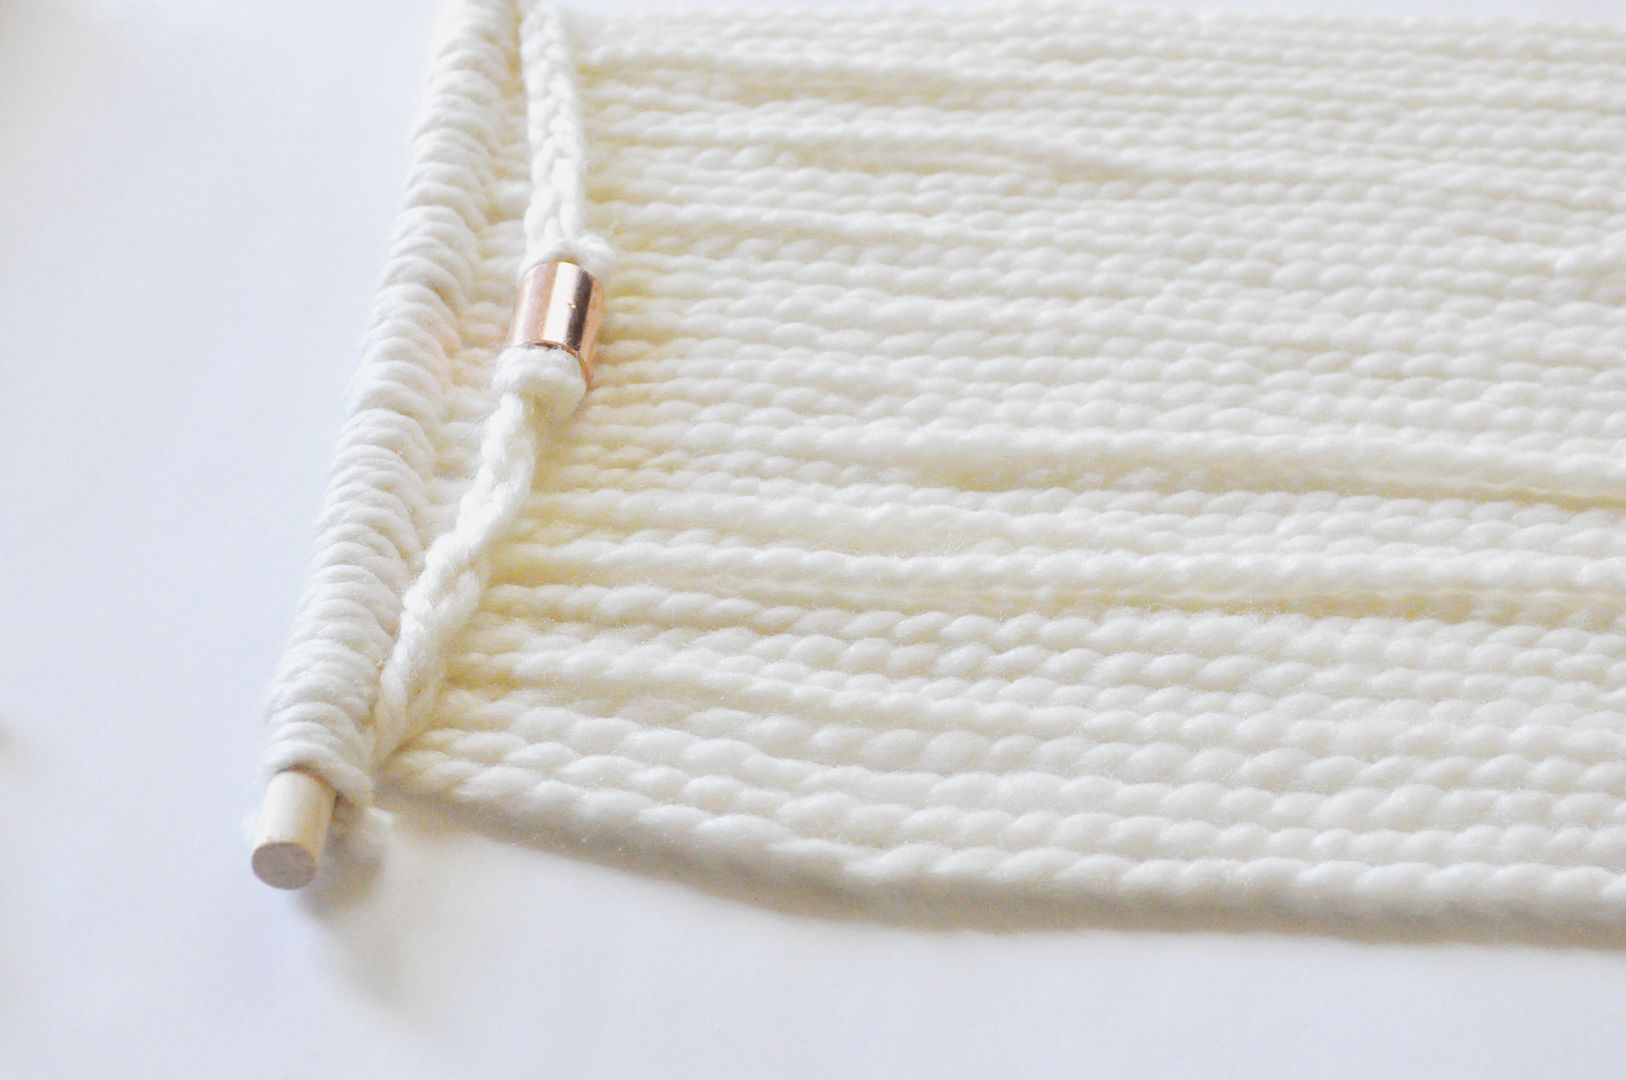
4) Attach your beads to the smaller hoop by using your wire, or any other jewelry finding. I used jump rings to allow them to dangle a bit.

5) Attach the rings together using the remaining gold wire. Wrap the wire around both hoops until it feels secure, and then cut off. Ensure that no wire is poking out, by sliding the excess in between the wire you wrapped.


It's a really simple piece, but I think that's why I love it so much! You can have fun mixing colors or styles of yarn and beads too! As always, if you decide to try this out, leave us a link with a photo - I love seeing what you all come up with! 

Happy Weekend! Mel

*for additional MAKE projects, visit this archive

6.24.2014

W E A R :: staying neutral


details :: dress /free people, shoes/sam edelman

dinner dates. snoozing. crafting. photography. blogging. cleaning. organizing. cooking. dog walking. coffee chatting. church. photo editing. bubble tea. dance recital. grad school. waffles. sunshine.

This is basically what my weekend was and it was nothing short of perfect; just what I needed! Hope yours was exactly what you were hoping for!

xo. mel

6.23.2014

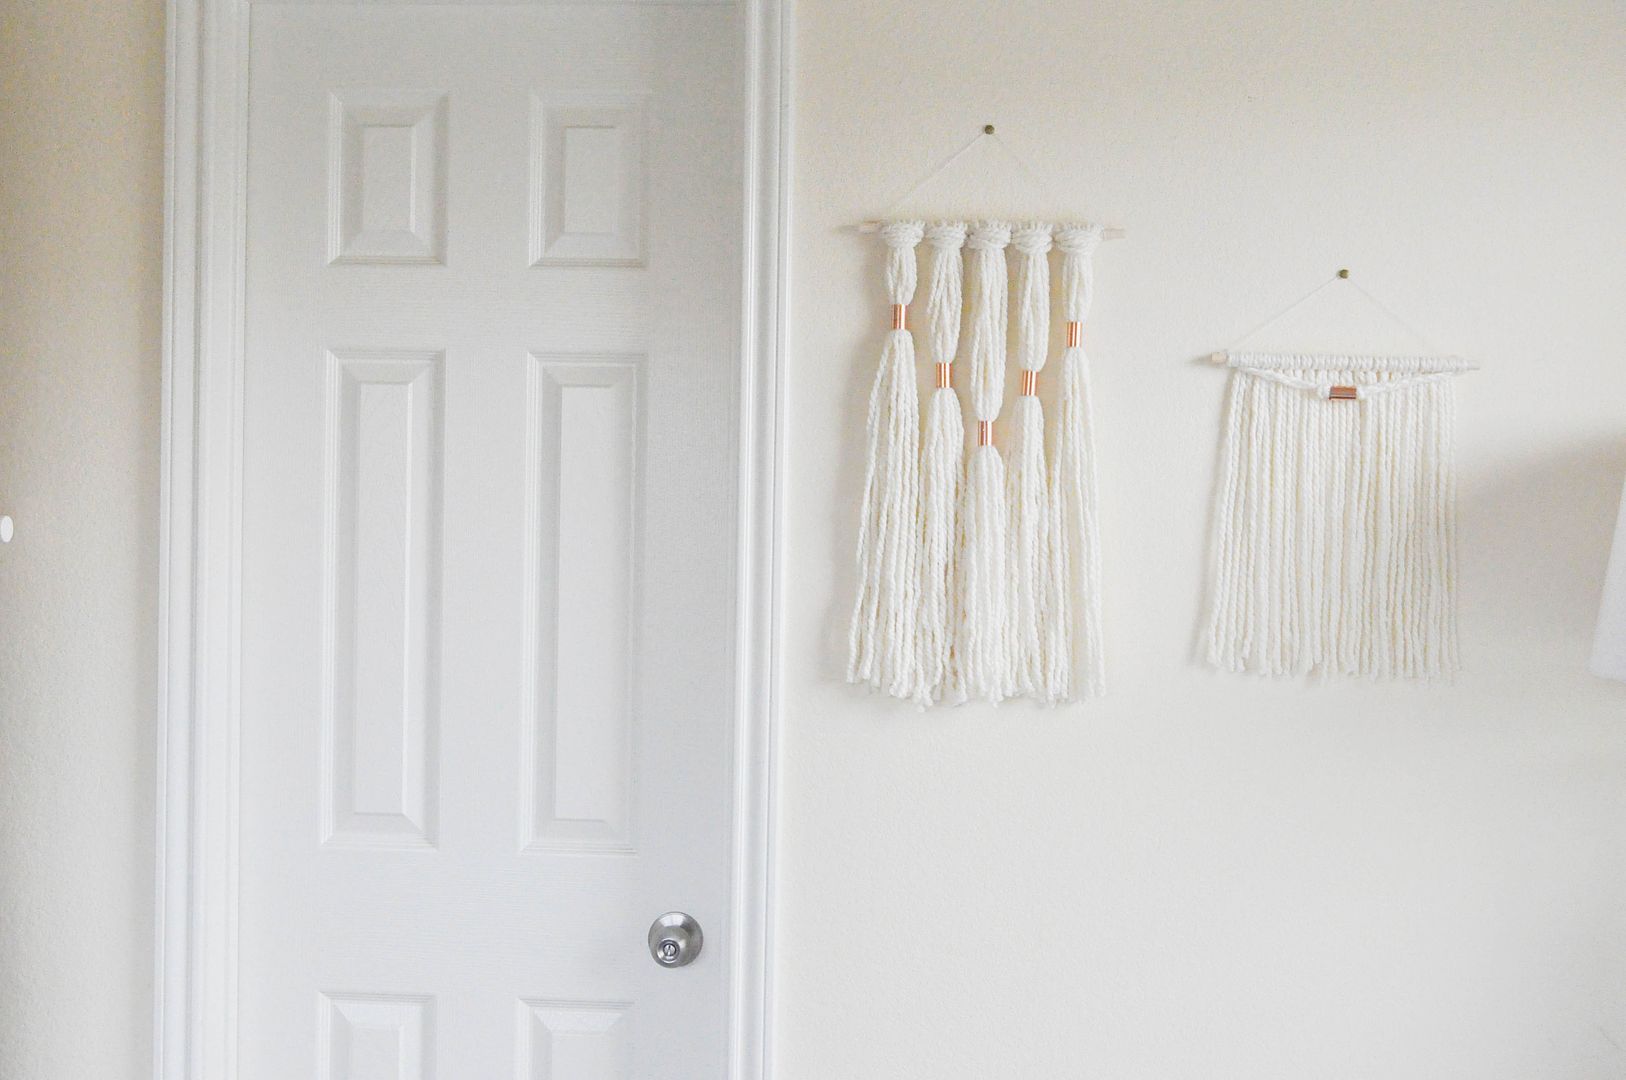
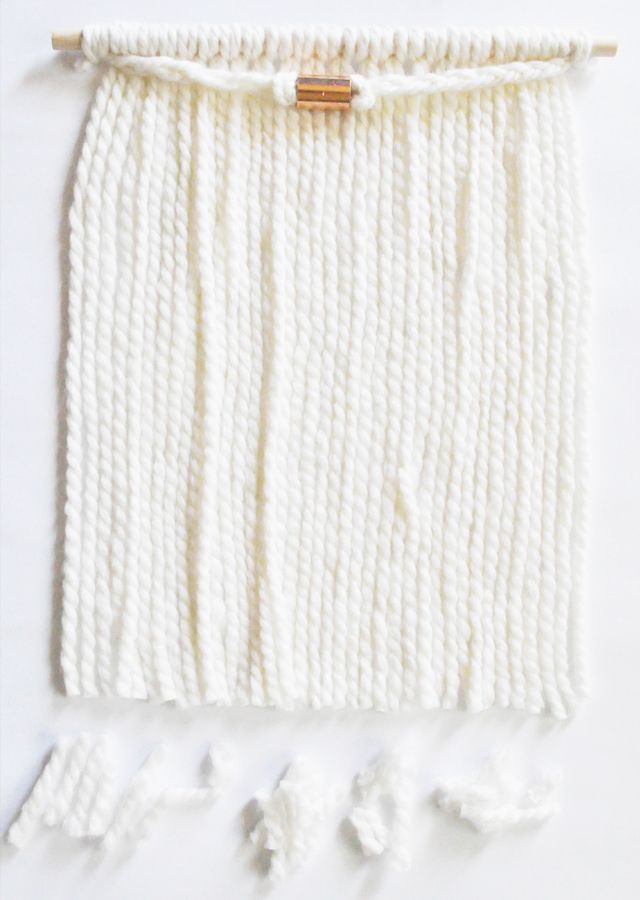
M A K E :: copper wall hanging

 photo cover2_zps6973f36c.jpg
 photo 19_zps01f1f53f.jpg
The incredible thing about having a home is that you have this little spot in the world that's yours, a place that God has provided and allowed you to make your own. I love being able to express my creativity in creating art for our home. I look forward to our future children looking at these pieces and cherishing them as treasures as they grow old -- something I can pass on to them that will someday make their own house a home. I have seen so many beautiful weavings on the internet lately, so I wanted to create something with a similar feel. Our walls have been pretty bare since moving into our apartment, and these lovely wall hangings have added just the right touch to our home!
 
 photo 17_zpsff6d8e68.jpg
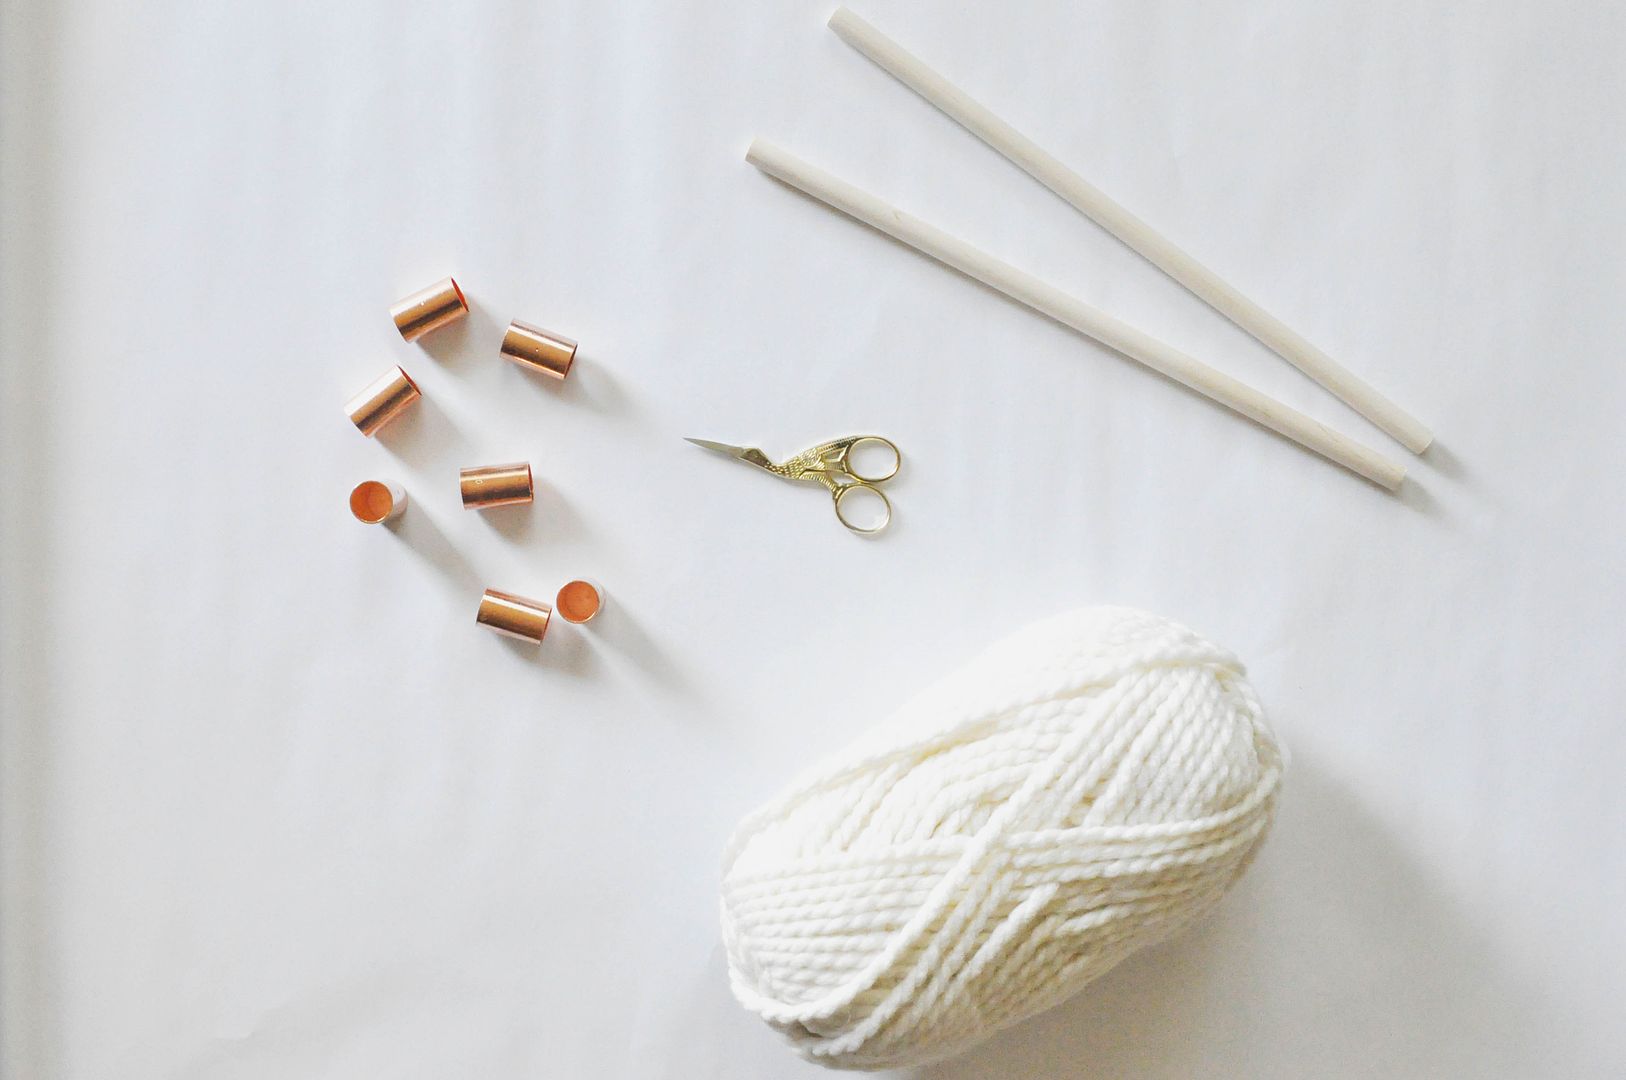
S U P P L I E S :: skein of yarn, copper couplings, two wooden dowels, scissors

 photo 16_zps4034bd0e.jpg

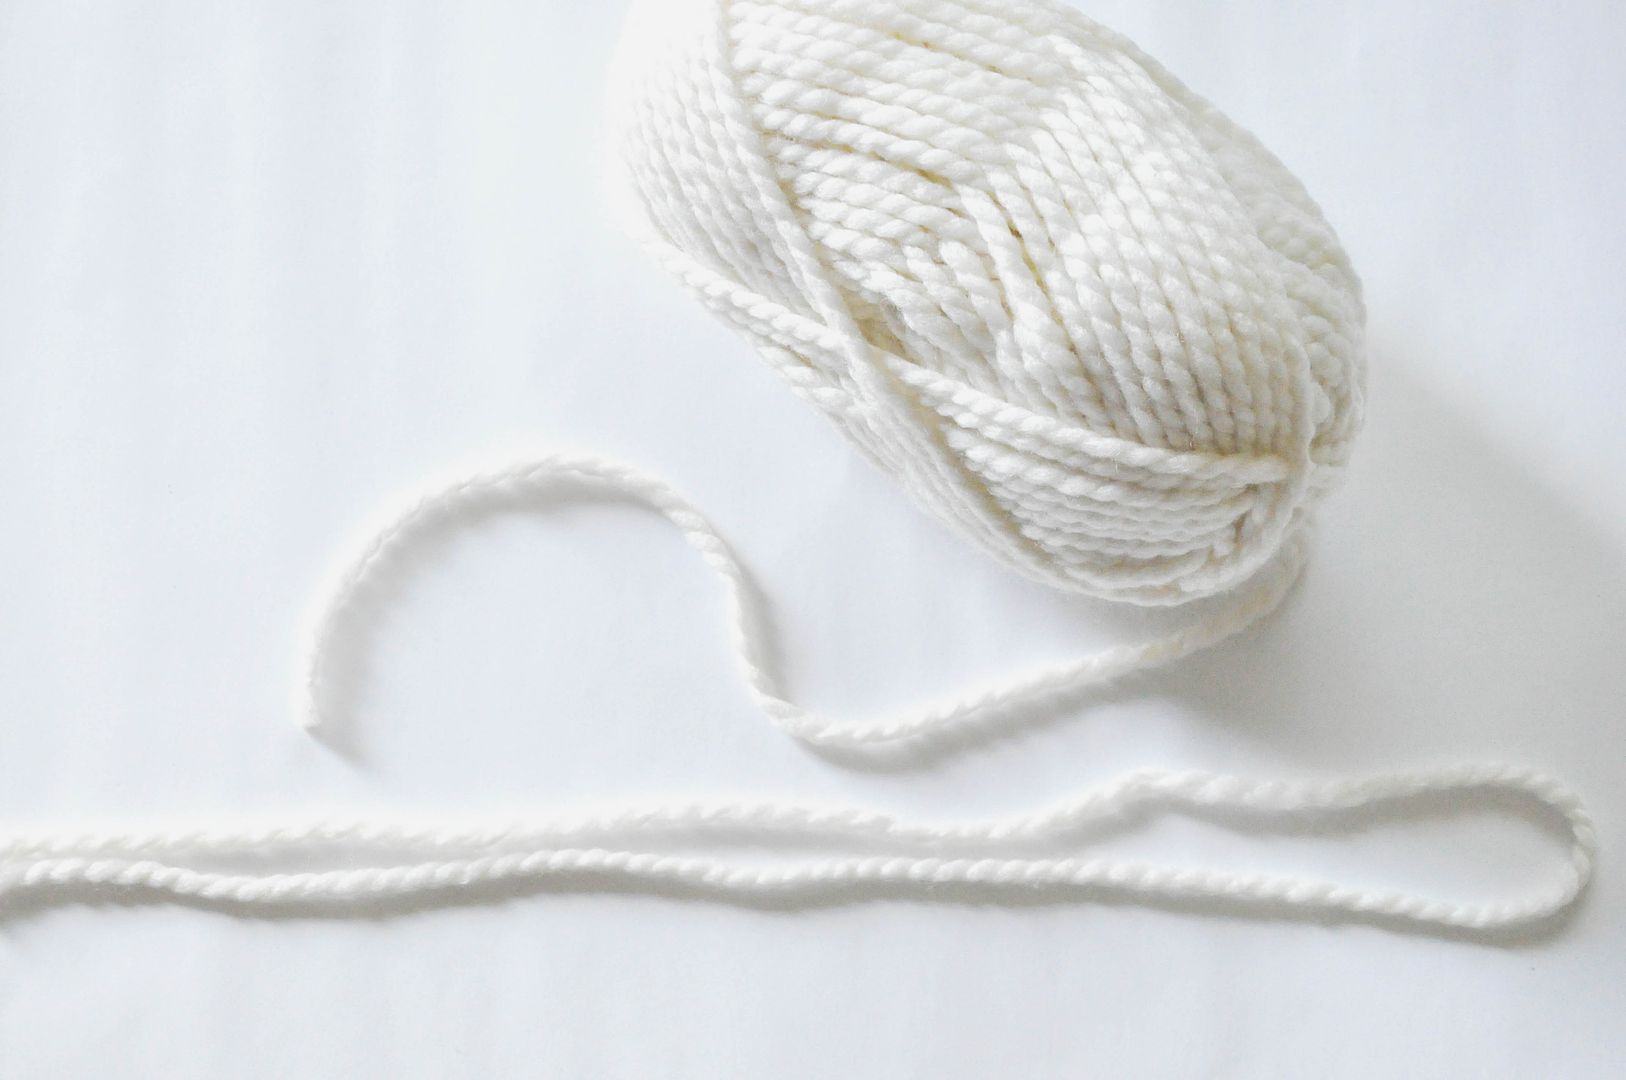
1. Gather your supplies. Begin by cutting your yarn into 18-inch strands (this can be adjusted based on the length you'd like the finished product to be).

 photo 15_zpsf71e8eac.jpg

 photo 14_zps583463ec.jpg

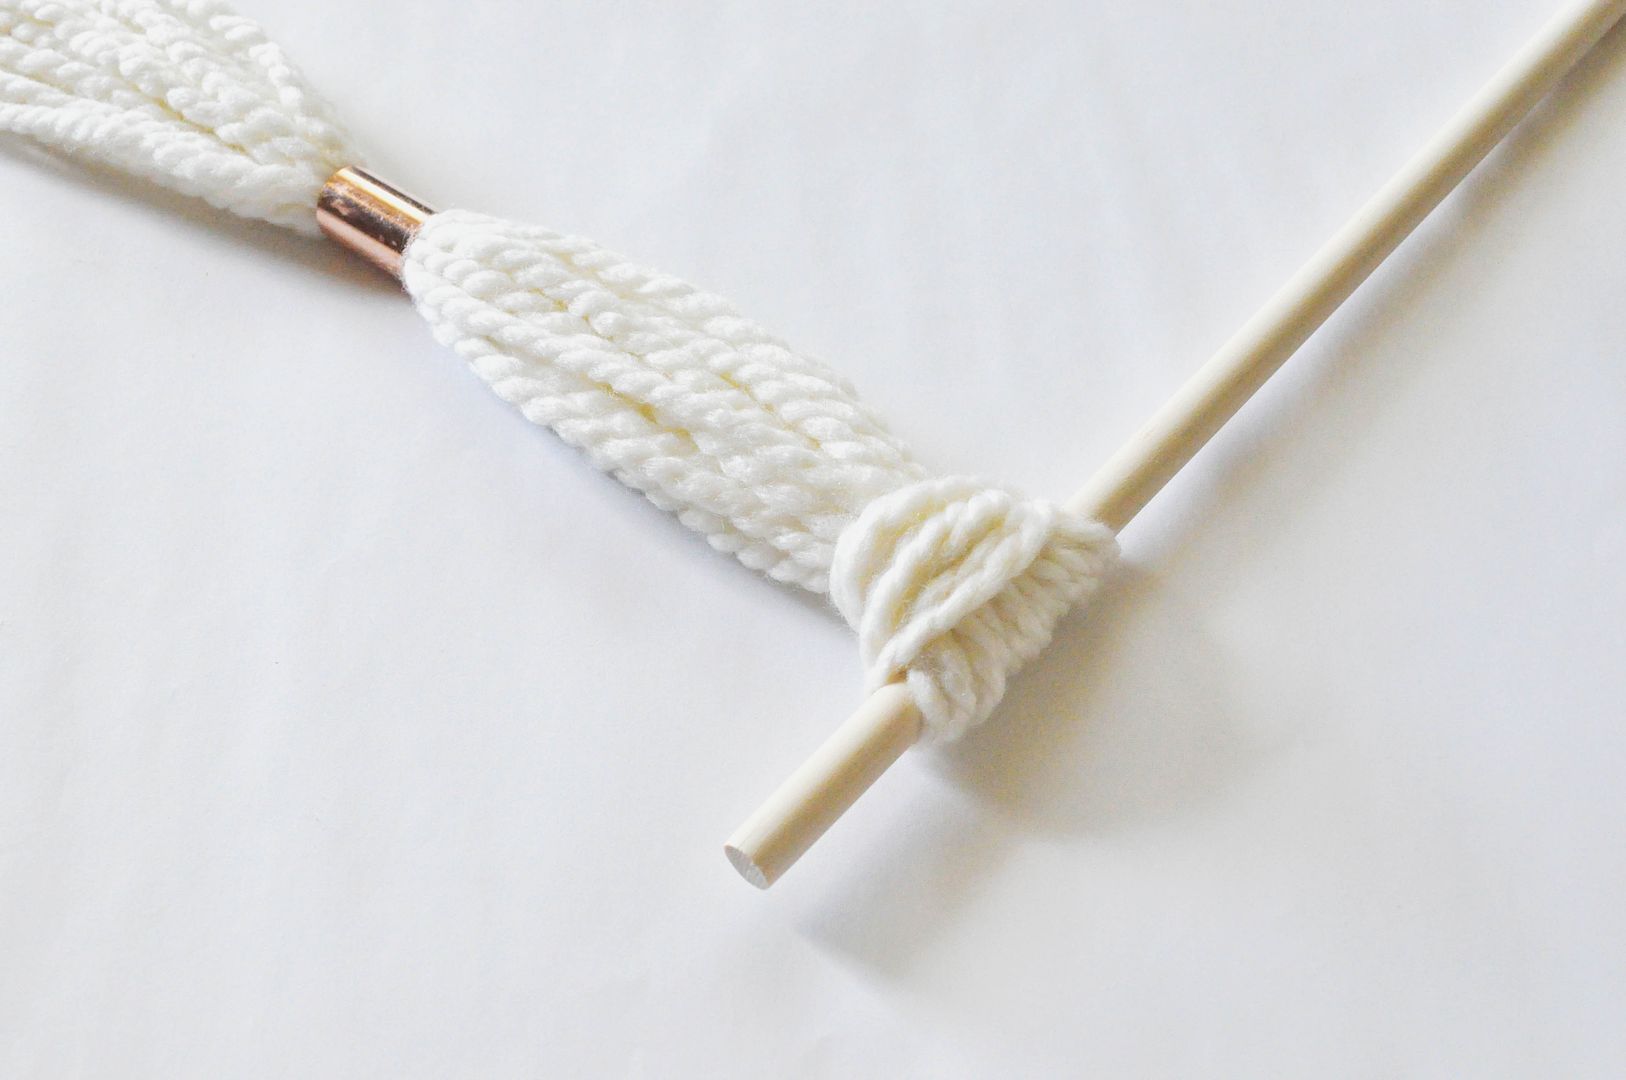
2. Once your strands are cut, fold them in half and place the ends through the loop as pictured. Do this all the way across the wooden dowel.

 photo 13_zpsb5005e66.jpg

 photo 7_zps2c693674.jpg

3. Take three strands of yarn and braid them together. Halfway through the braid, tie a knot and place a copper coupling. Tie a knot on the other side of the coupling and continue braiding. Tie each end to either end of the dowel.

 photo 0_zpsbd728308.jpg

4. Place a notebook or piece of cardboard atop the ends of your wall hanging. Use this as a guide to trim the excess yarn and create an even line.

 photo 11_zps96ceabc3.jpg
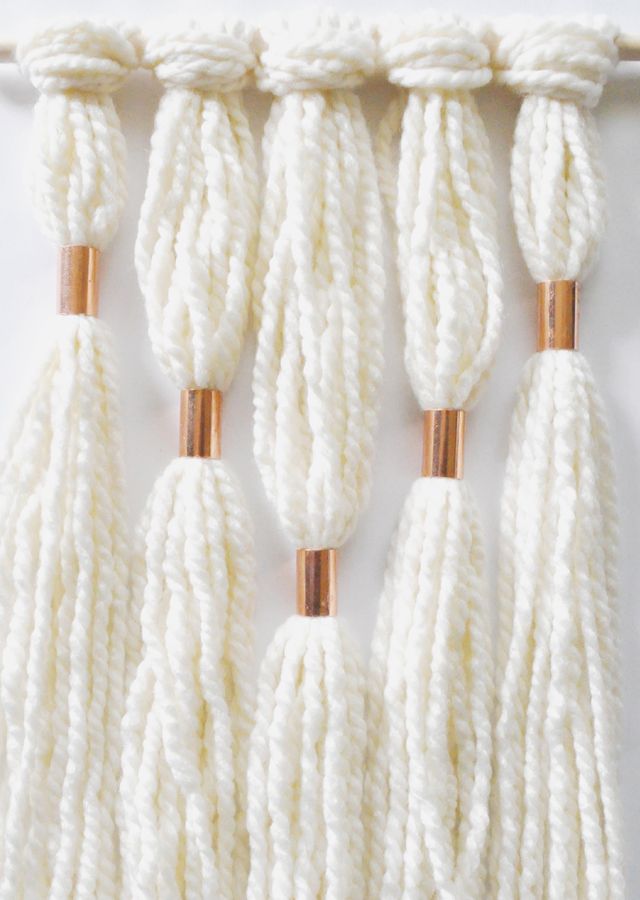
Variation : Use the same technique to wrap the strands of yarn, but cut the strands to be twice as long, collect ten of them together, and then attach.

 photo 00_zps6867a0cc.jpg
Variation (cont.) : pull the strands through the copper coupling and arrange as desired.

 photo 000_zps1bfb6c45.jpg

5. Use string or yarn to create the top hanger by tying a loop around each end and placing the dowel inside the loops. You can also make other decorative hangings by trying out other tying and hanging combinations. Display and enjoy!
I previously shared this post on the Deeply Rooted blog, which you can view here. If you haven't already checked out Deeply Rooted, I strongly suggest you do! I loved their first issue and I can't wait to get my hands on Issue Two, which just became available! Yay!


xo. melisa

6.19.2014

M A K E :: fabric hangers


 photo cover3_zpsd893c3fe.jpg


 photo 6_zps3de7f8eb.jpg


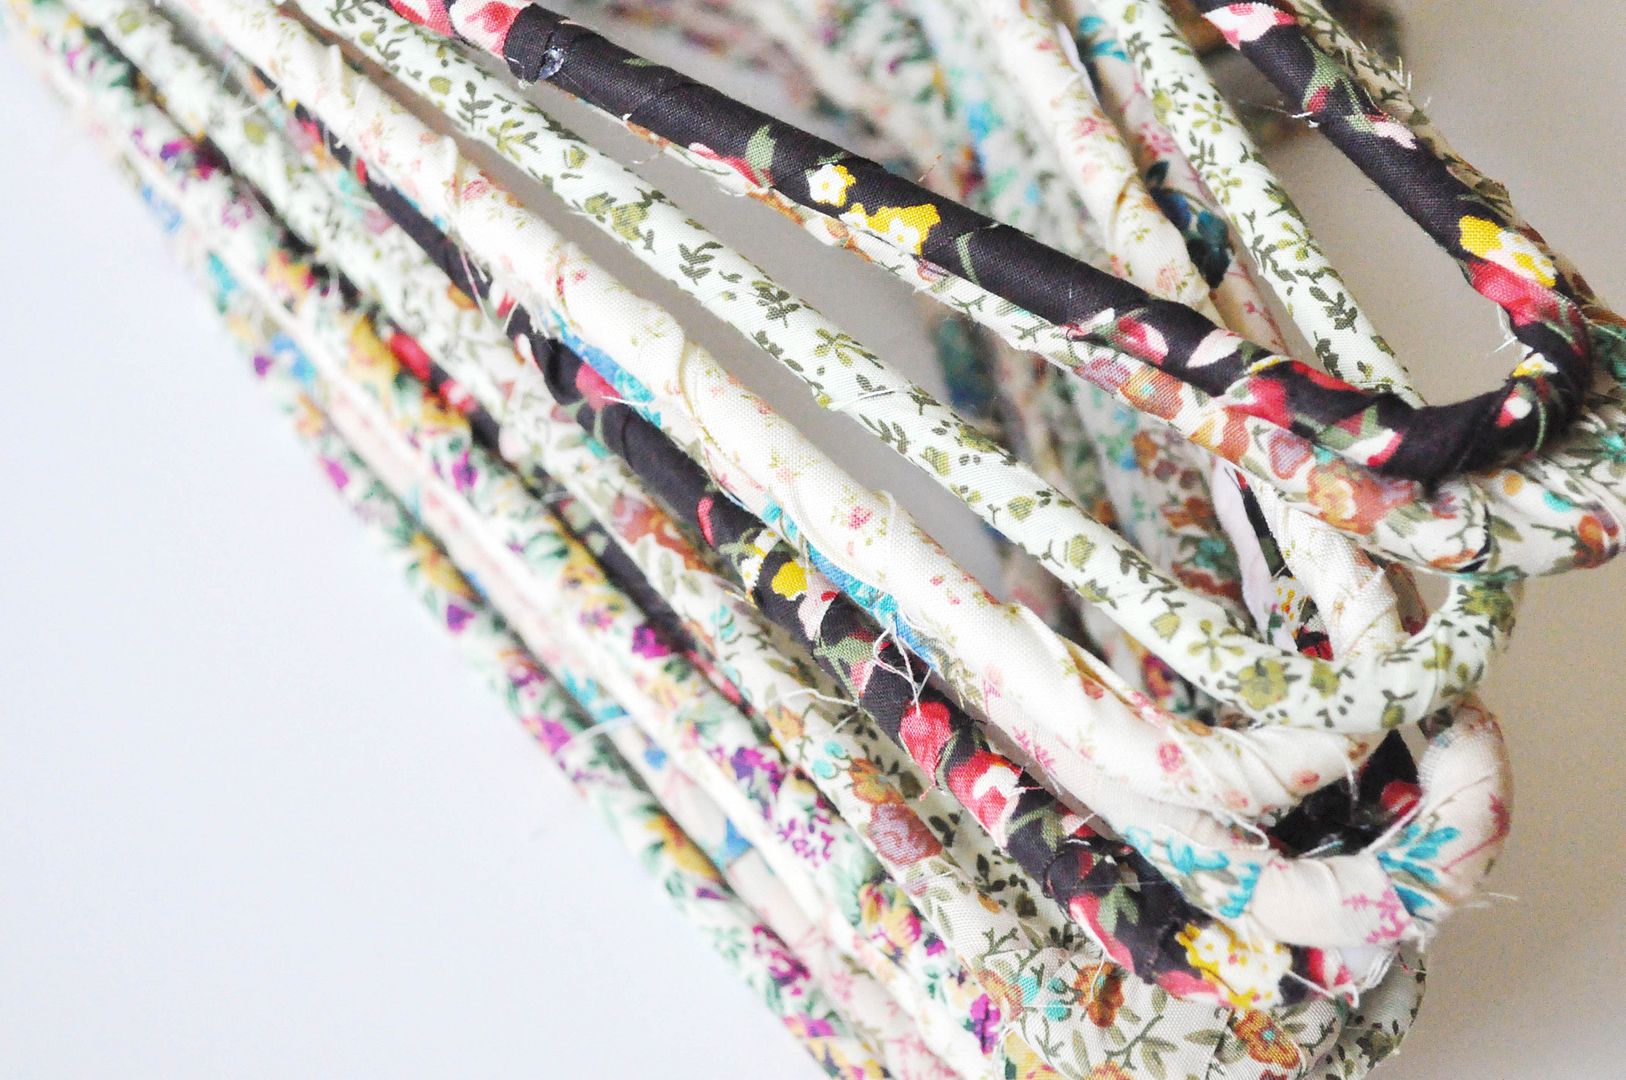
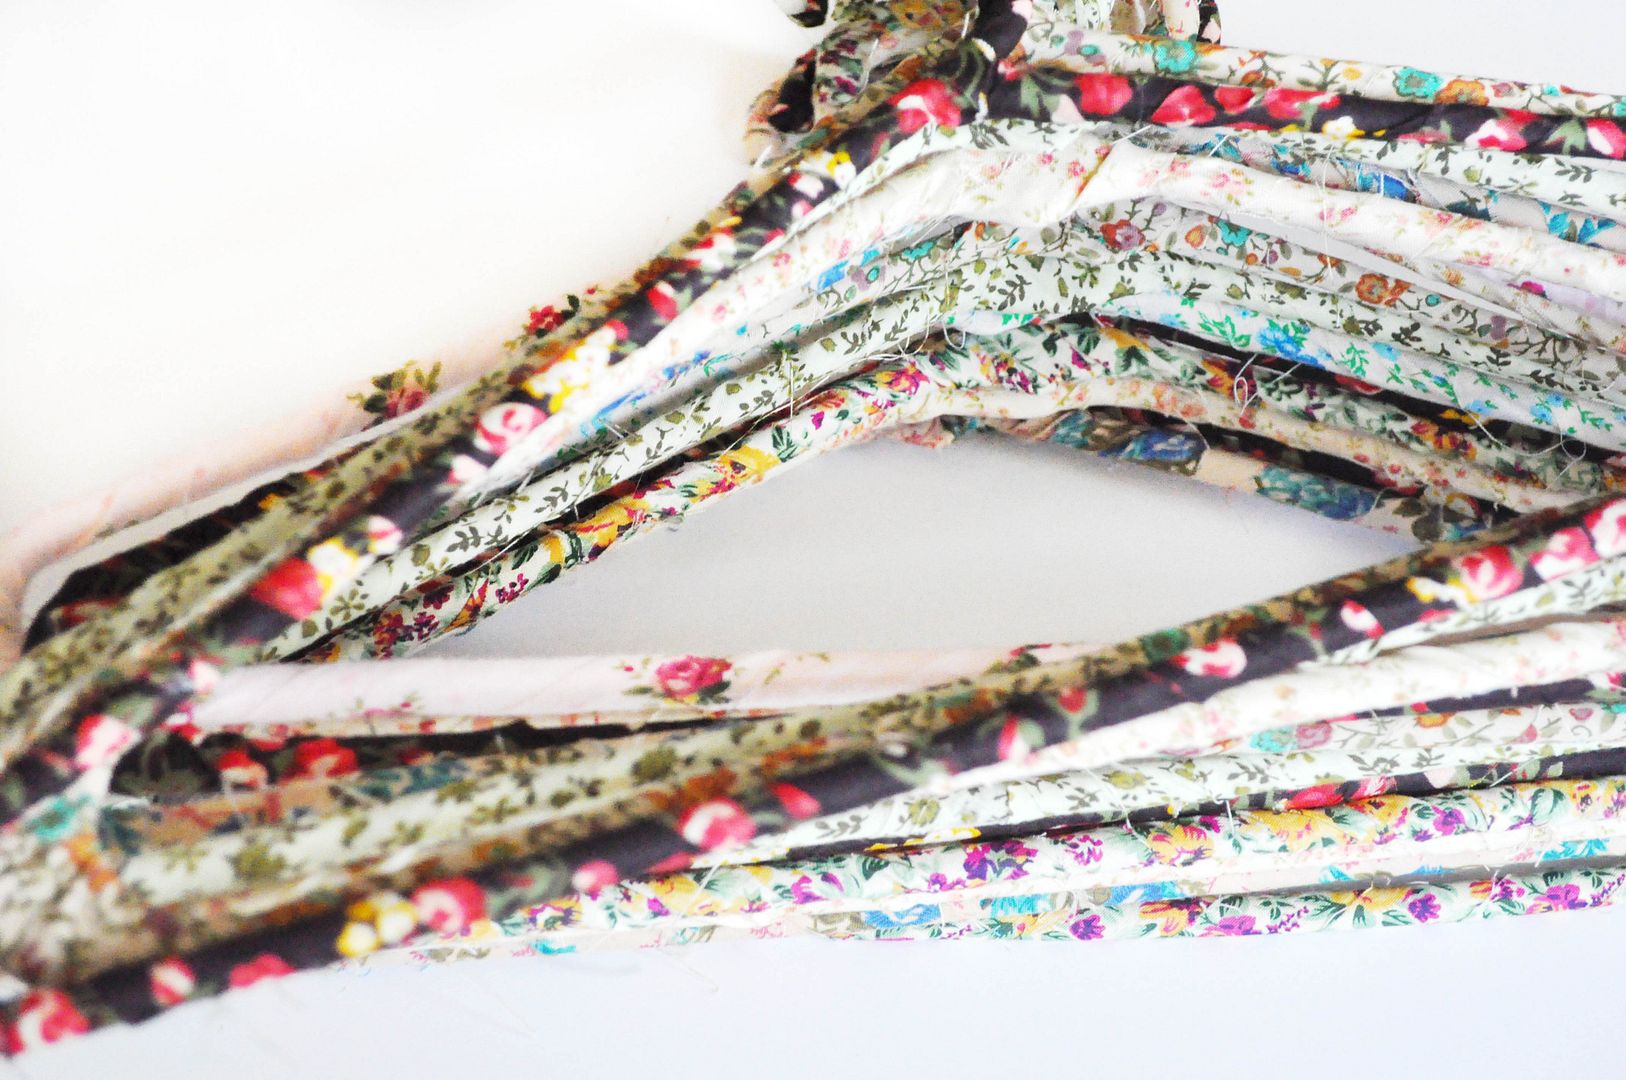
I shared this diy a few years back and thought it was time to revamp it and share it again! I love Free People and one of my favorite things about shopping there is their decor and all the sweet details; one of those being their hangers! These are a fun and easy version that you can make in just a few minutes. It's sure to make your wardrobe look nice and fresh!
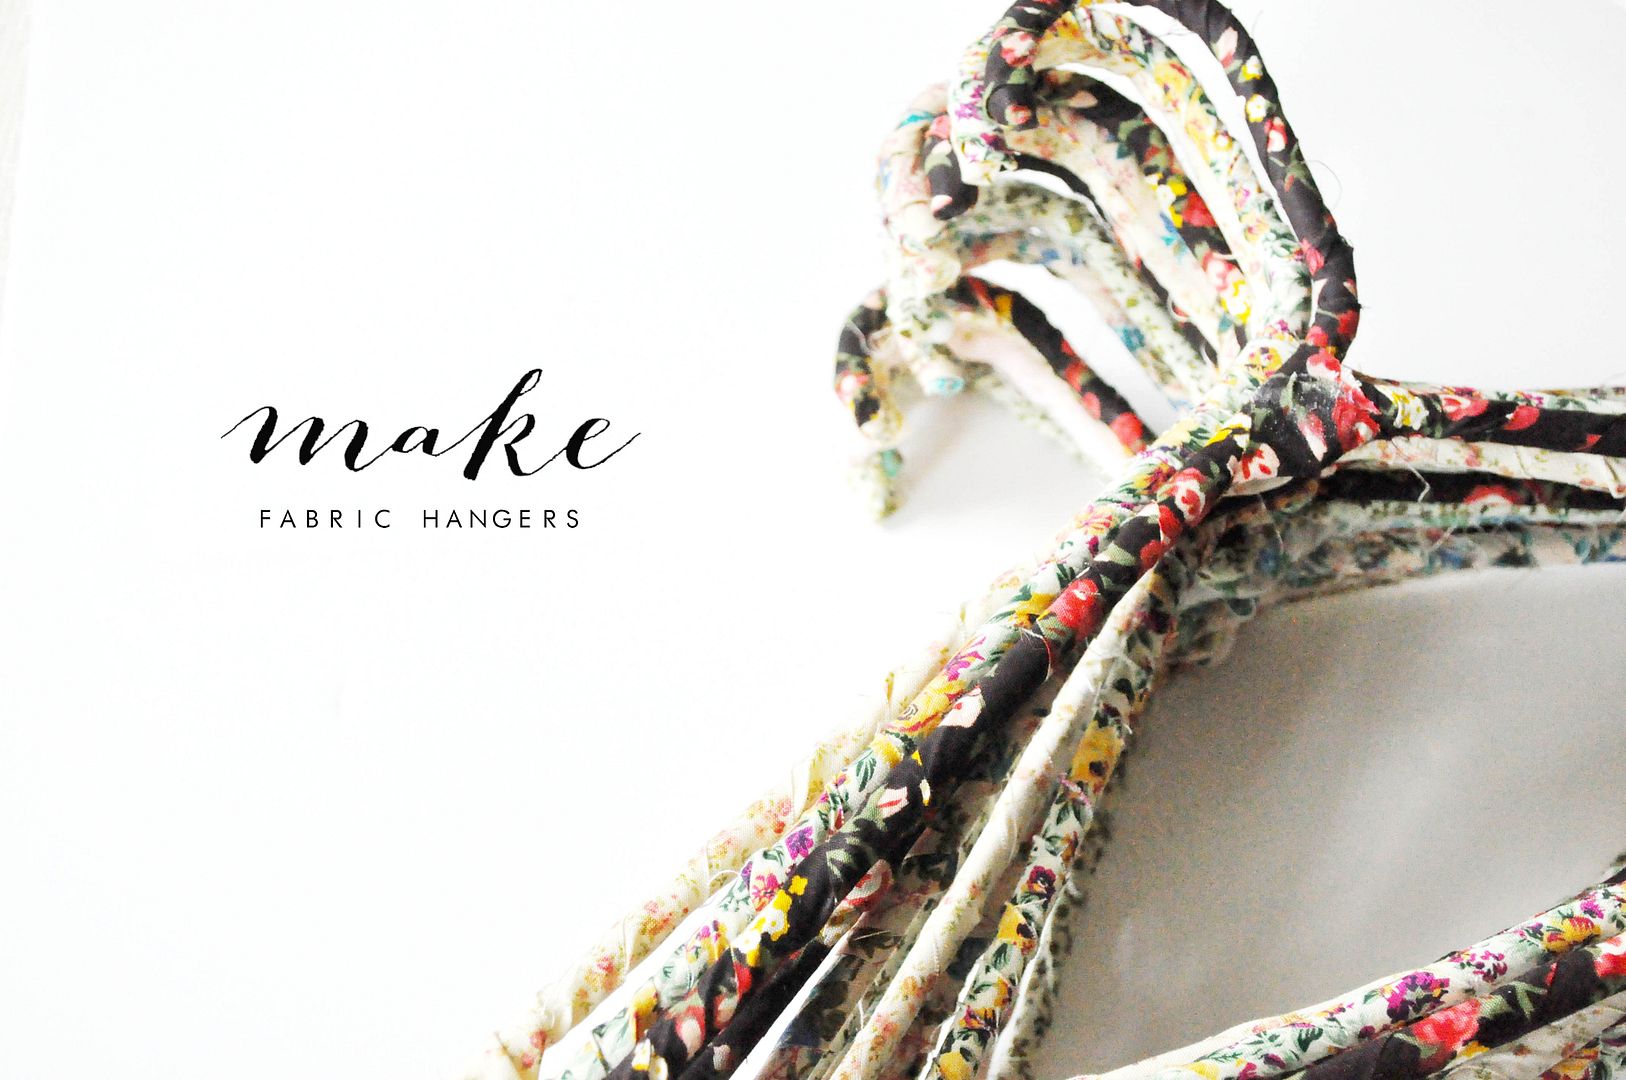
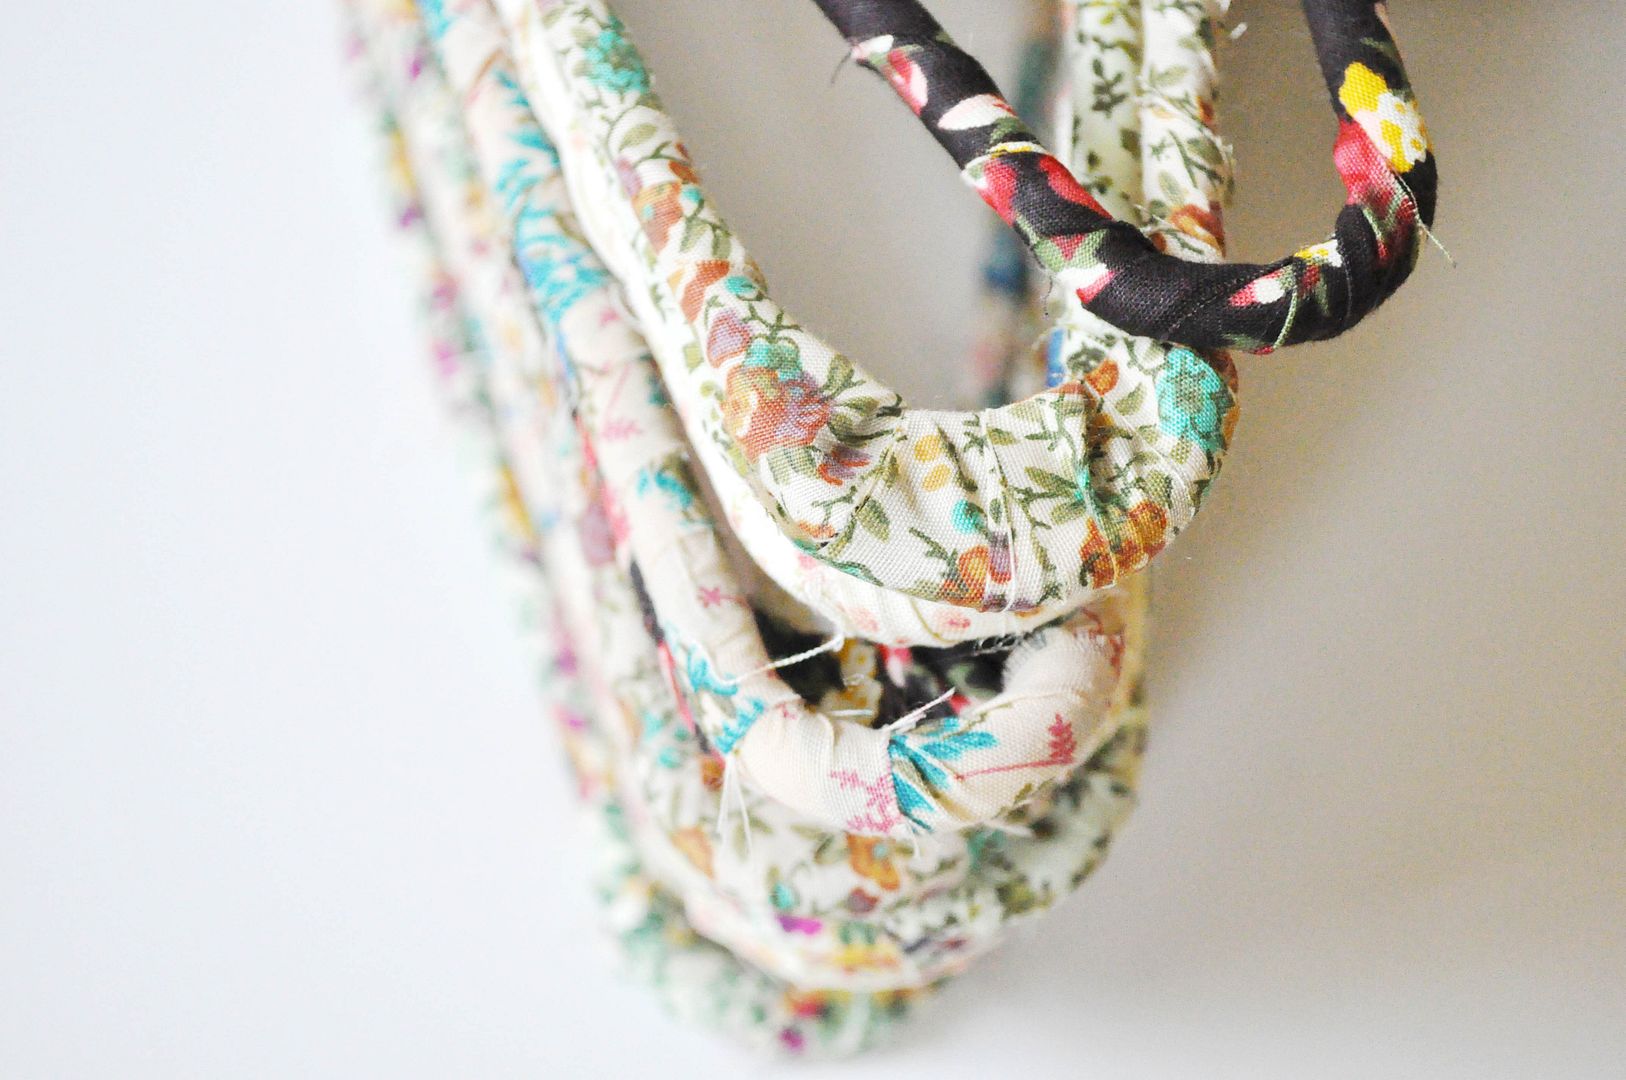
 photo SUPPLIES_zps800fd27c.jpg

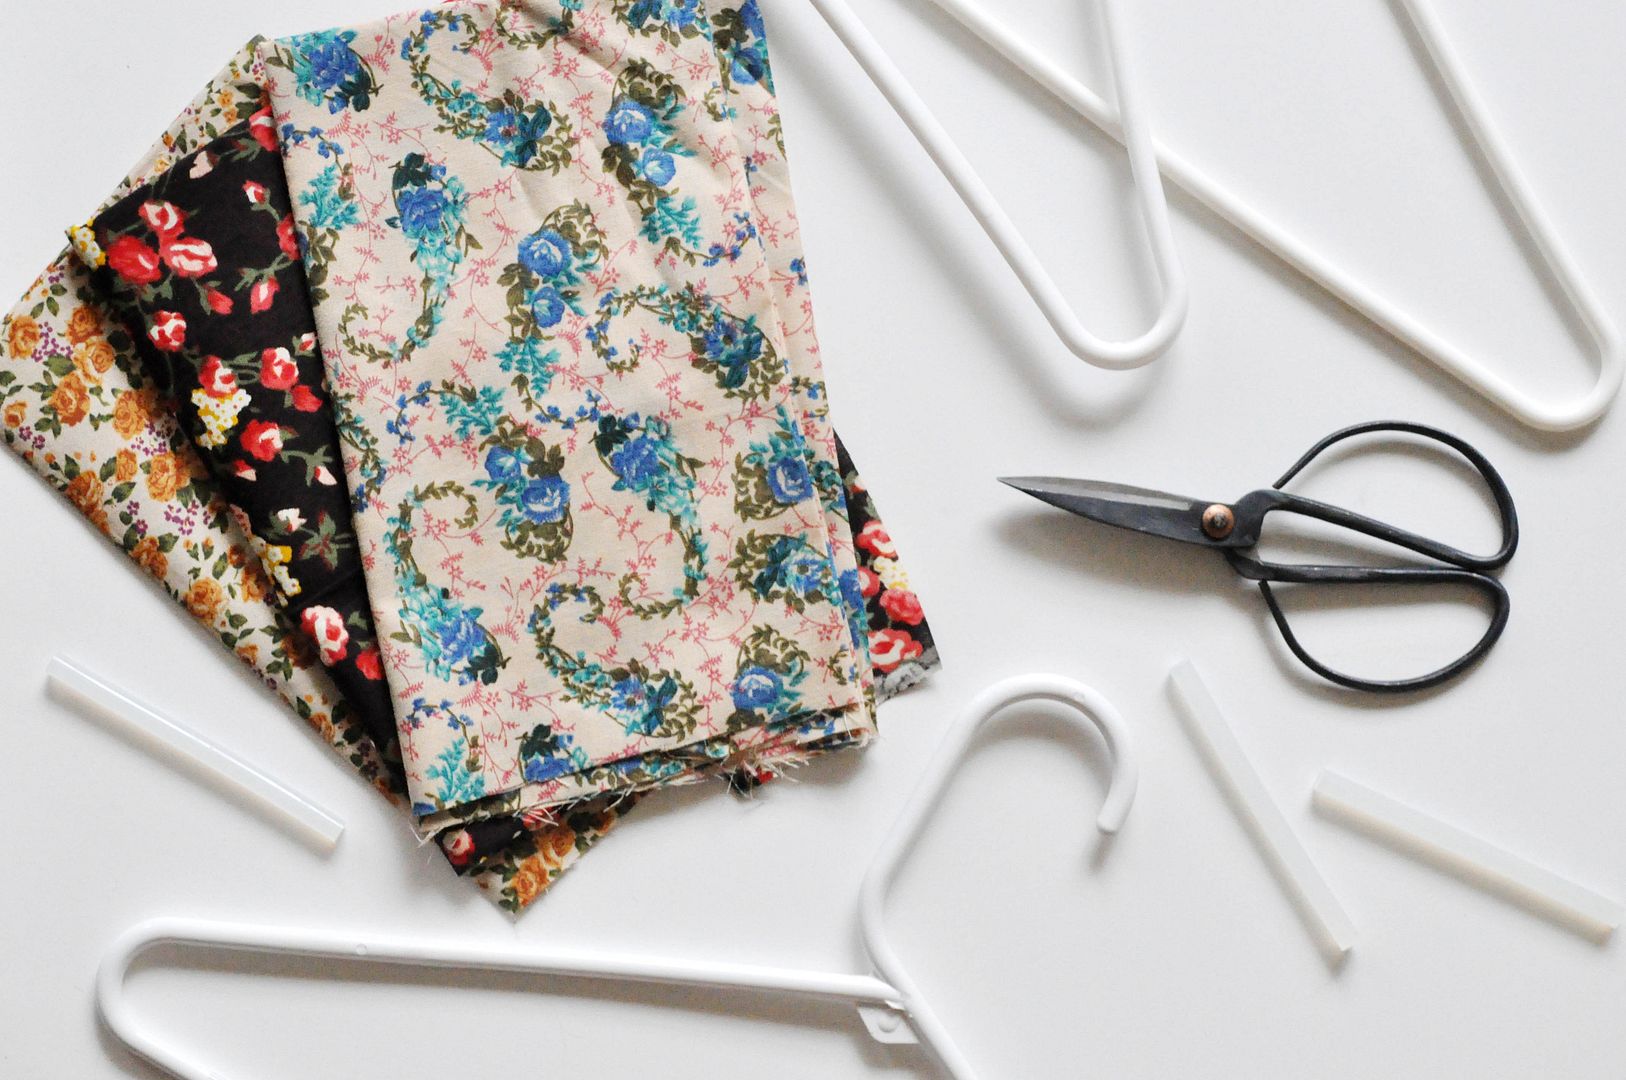
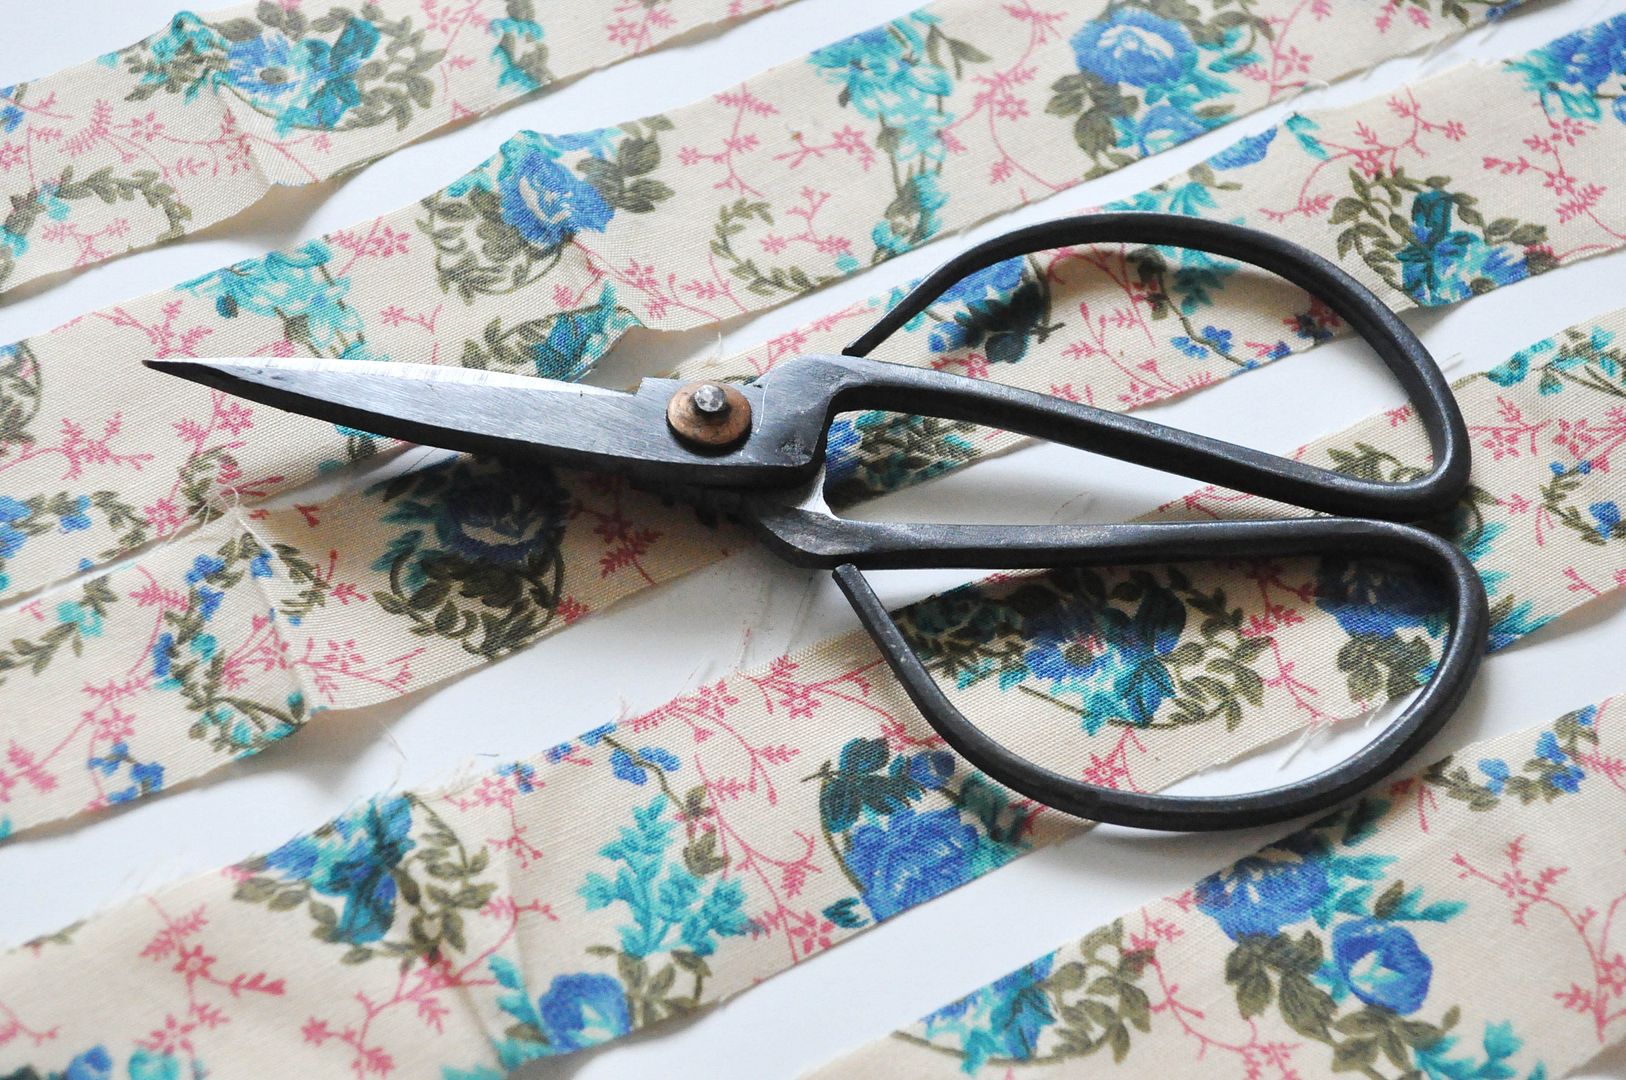
S U P P  L I E S :: fabric / scissors / hangers / hot glue

 photo cut2_zpsf85de7b8.jpg

1) Cut your fabric into one inch strips. Your fabric may have a few wrinkles or folds, but that won't matter.

 photo wrap2_zpsa15727d3.jpg

 photo wrap1_zpsbd3ebca9.jpg

 photo wrap_zpsea845a3b.jpg

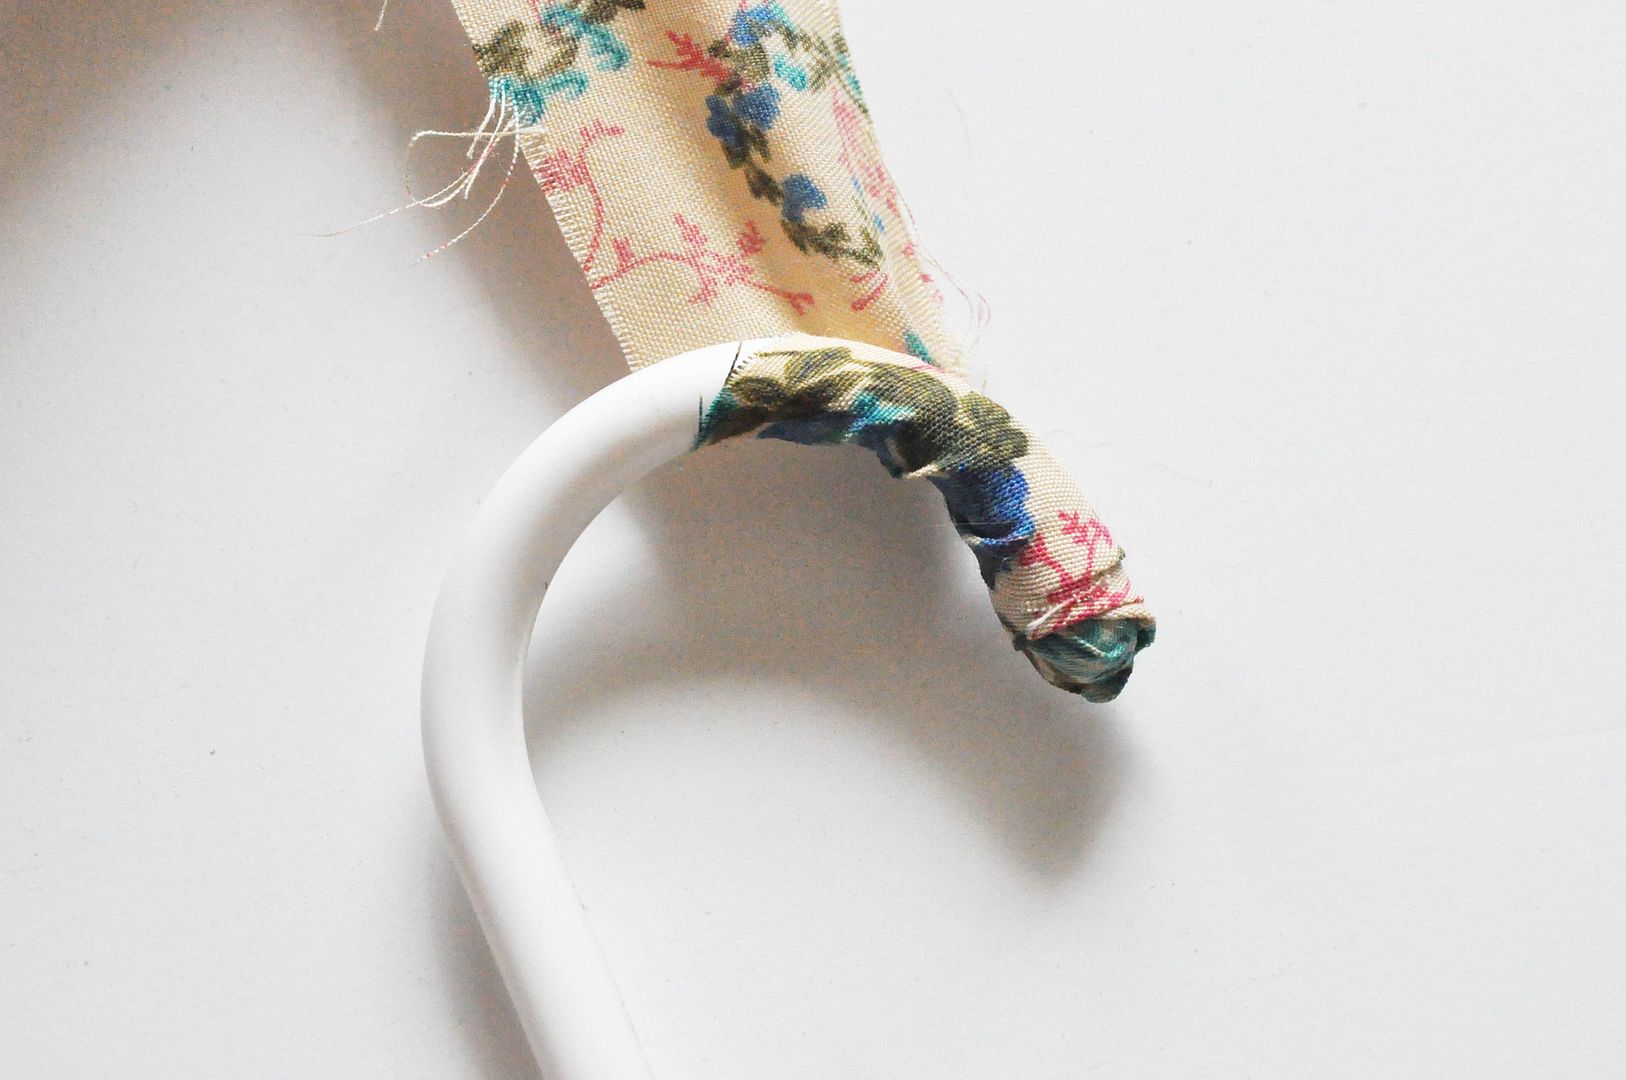
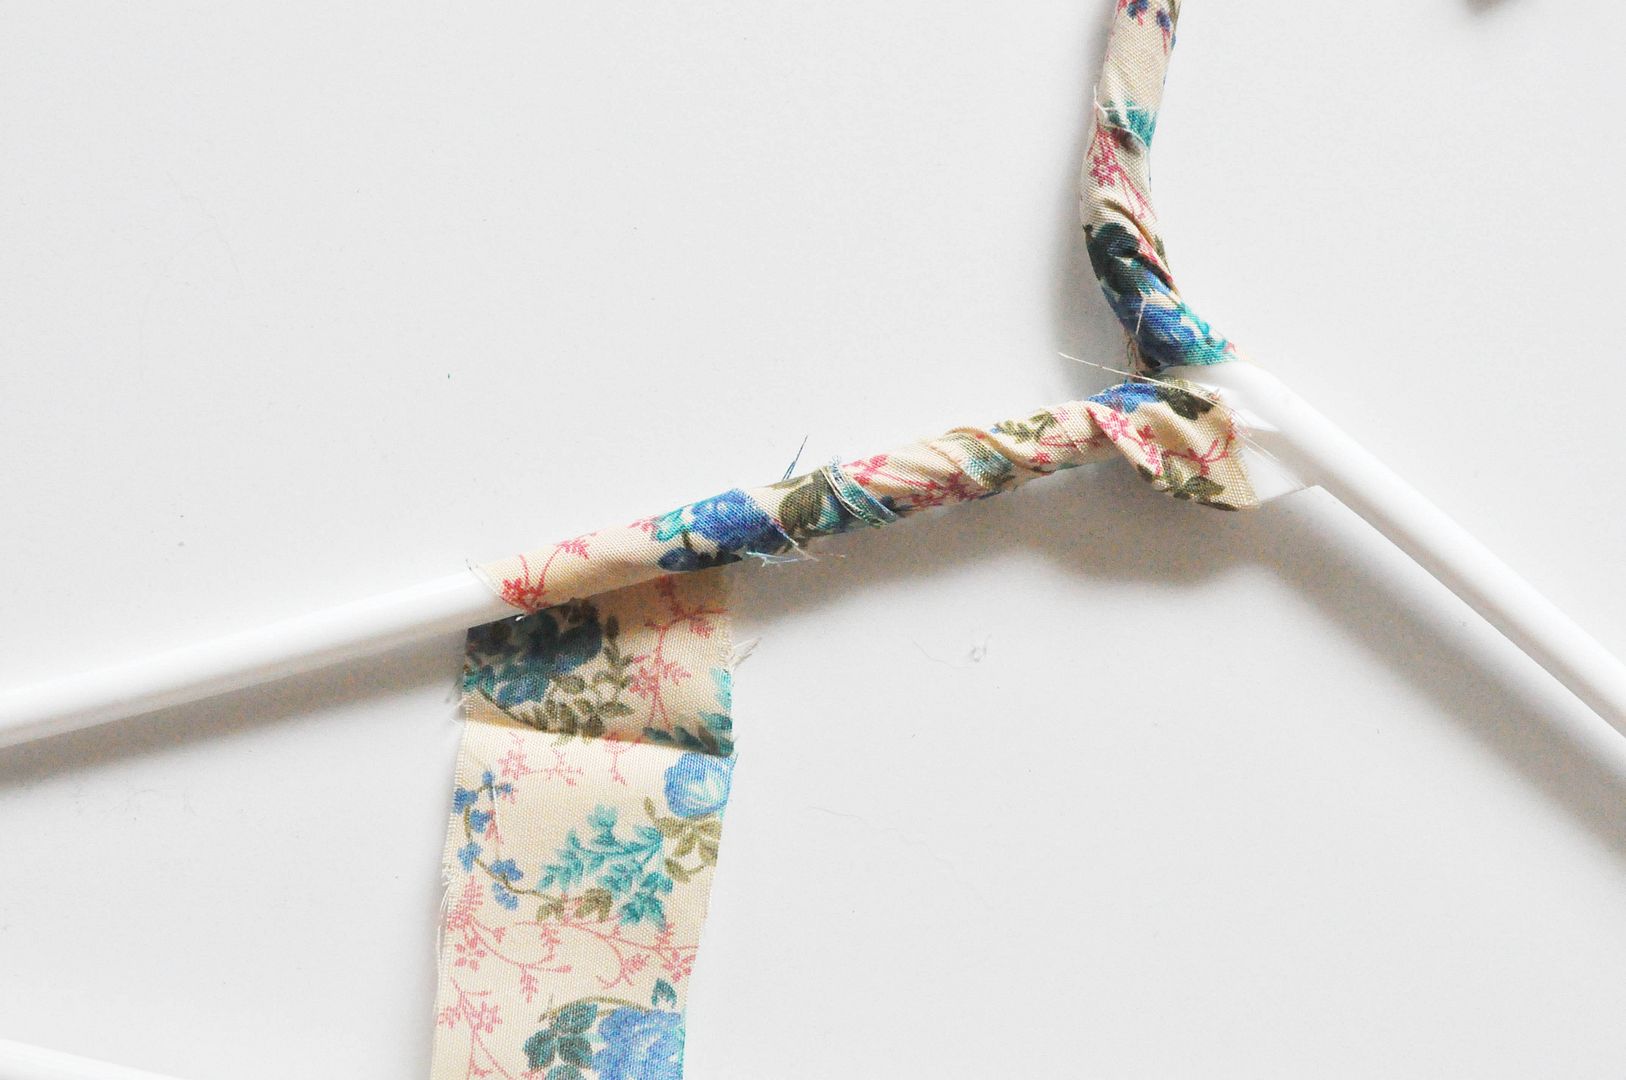
2) Place your hot glue at the end of one of your strips and place it down at the tip of your hook. Begin to wrap the strip around your hanger. Once you reach the end of your fabric strip, glue it down and start with a new one. Yes, it's just that easy!

 photo 2_zps84f910cd.jpg

 photo 1_zps72fa27ef.jpg

I love having these in my closet! The fabric provides a nice grip for tank tops or loose fabrics that would normally slide off. They're also pretty and make hanging laundry just a little more fun (just a little!) Hope y'all have fun making hangers!


xo. mel

6.15.2014

BITS + PIECES


This weekend I went to a plant nursery and it was just what I needed to help bring peace and relaxation. I had spent all Saturday morning working on schoolwork, so I figured I'd reward my hard work with a new plant! It was hard to choose, but I picked just the one and it's found a new home on our entertainment center. I'm currently loving Dusty Millers and Cacti - you can't kill cacti and that makes my heart warm. I'm still learning how to be a good plant mom, so succulents are the way to go. Have a good week!

xo. mel

6.09.2014

MA K E :: leather card holder

 photo cover_zpsfa1c3080.jpg
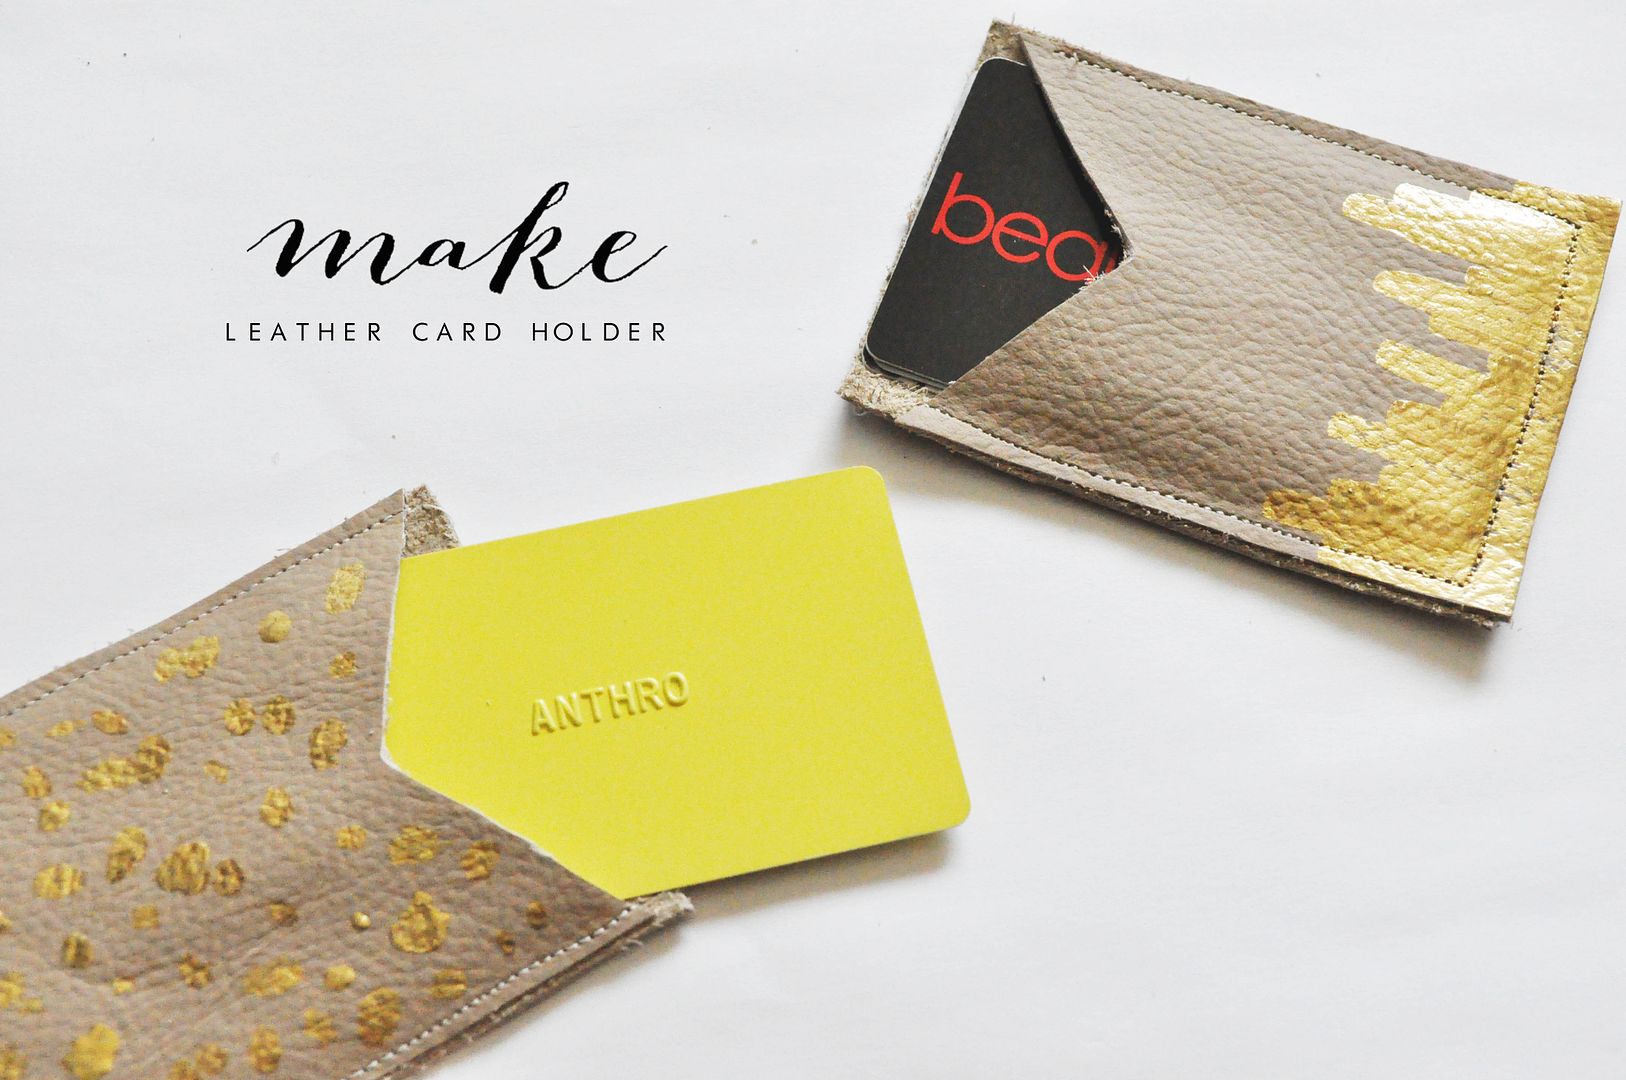
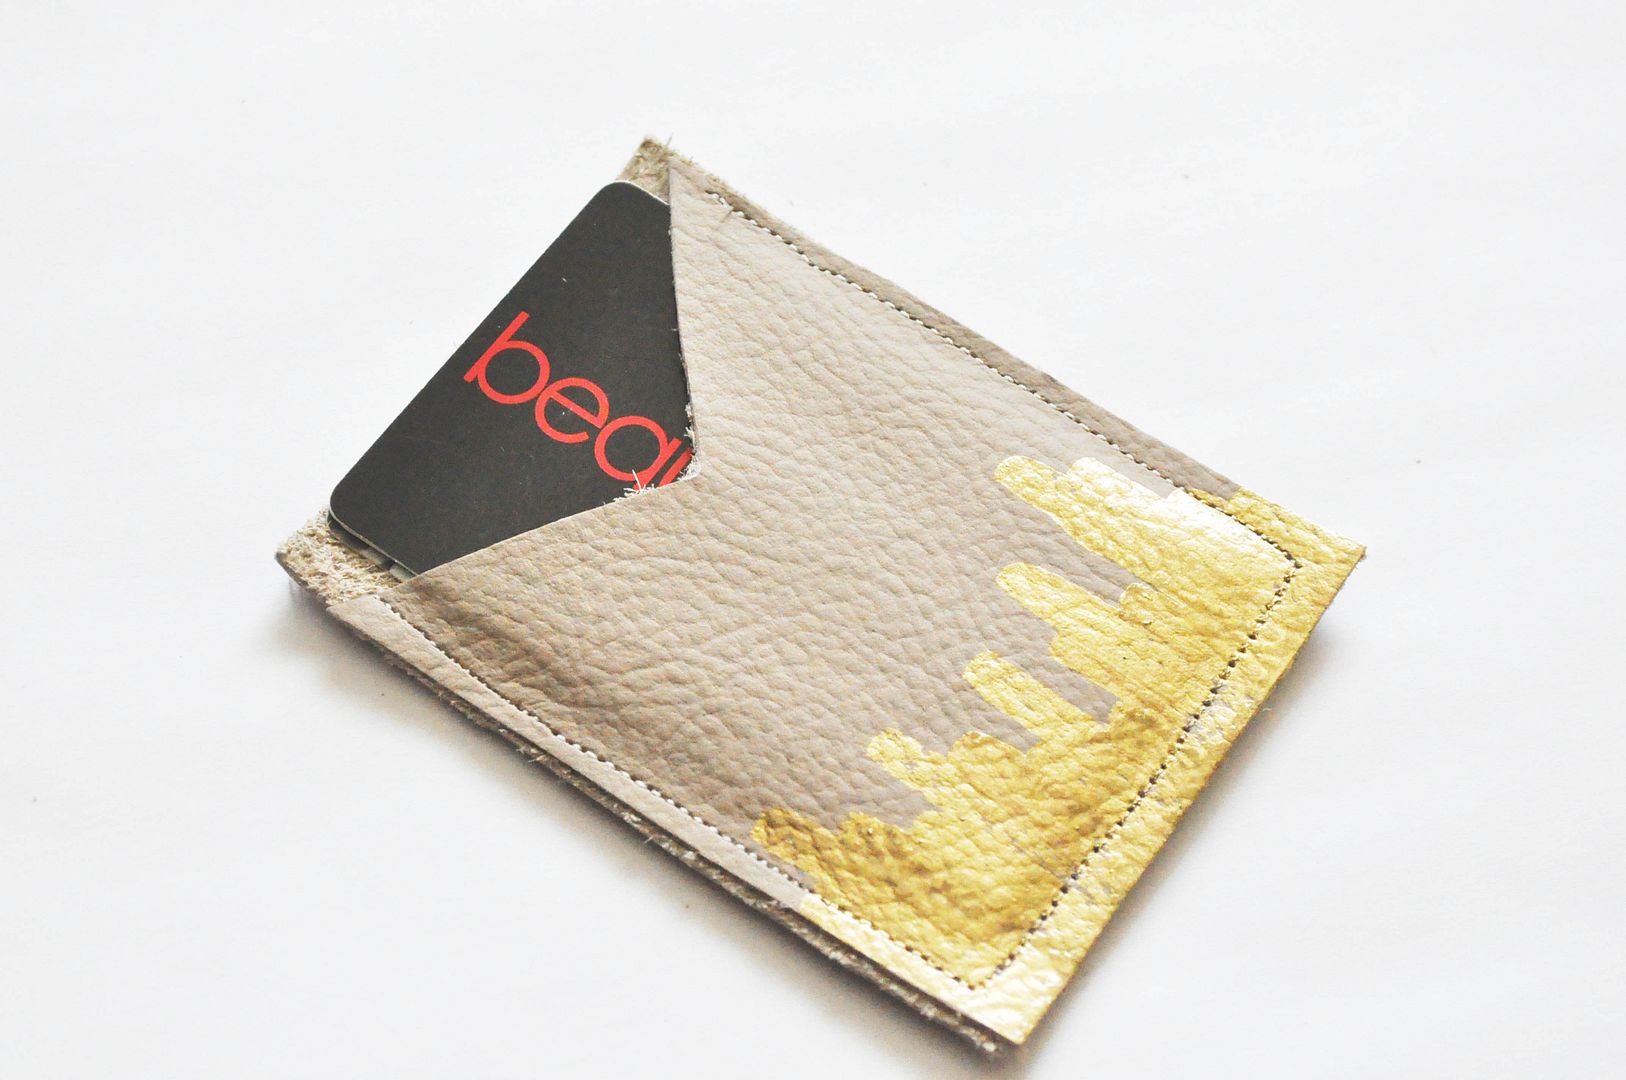
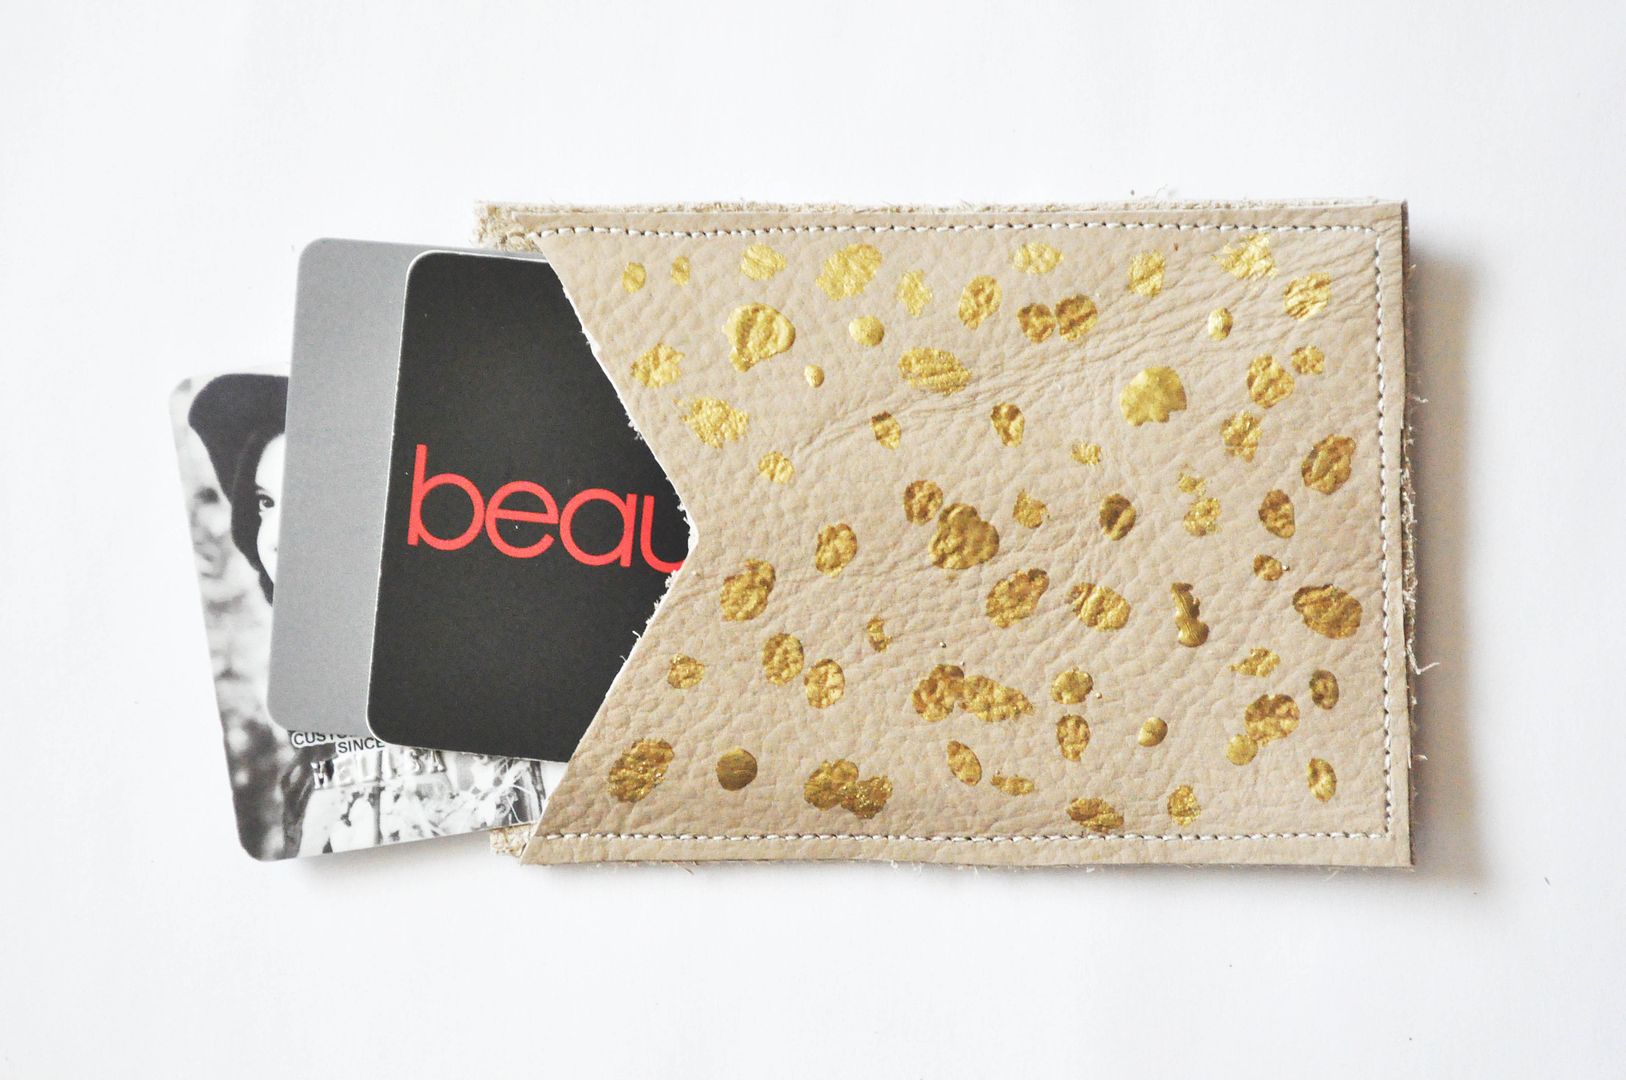
The Summer time is full of days at the beach or pool, where you don't really want to take a big purse. I love to grab a little satchel filled with my essentials. Instead of throwing my whole wallet in there, I like to have a few cards and cash, ya know, just in case. These little leather card holders are just the trick and they're the easiest to whip up!

 photo supplies_zps2b55b2b3.jpg
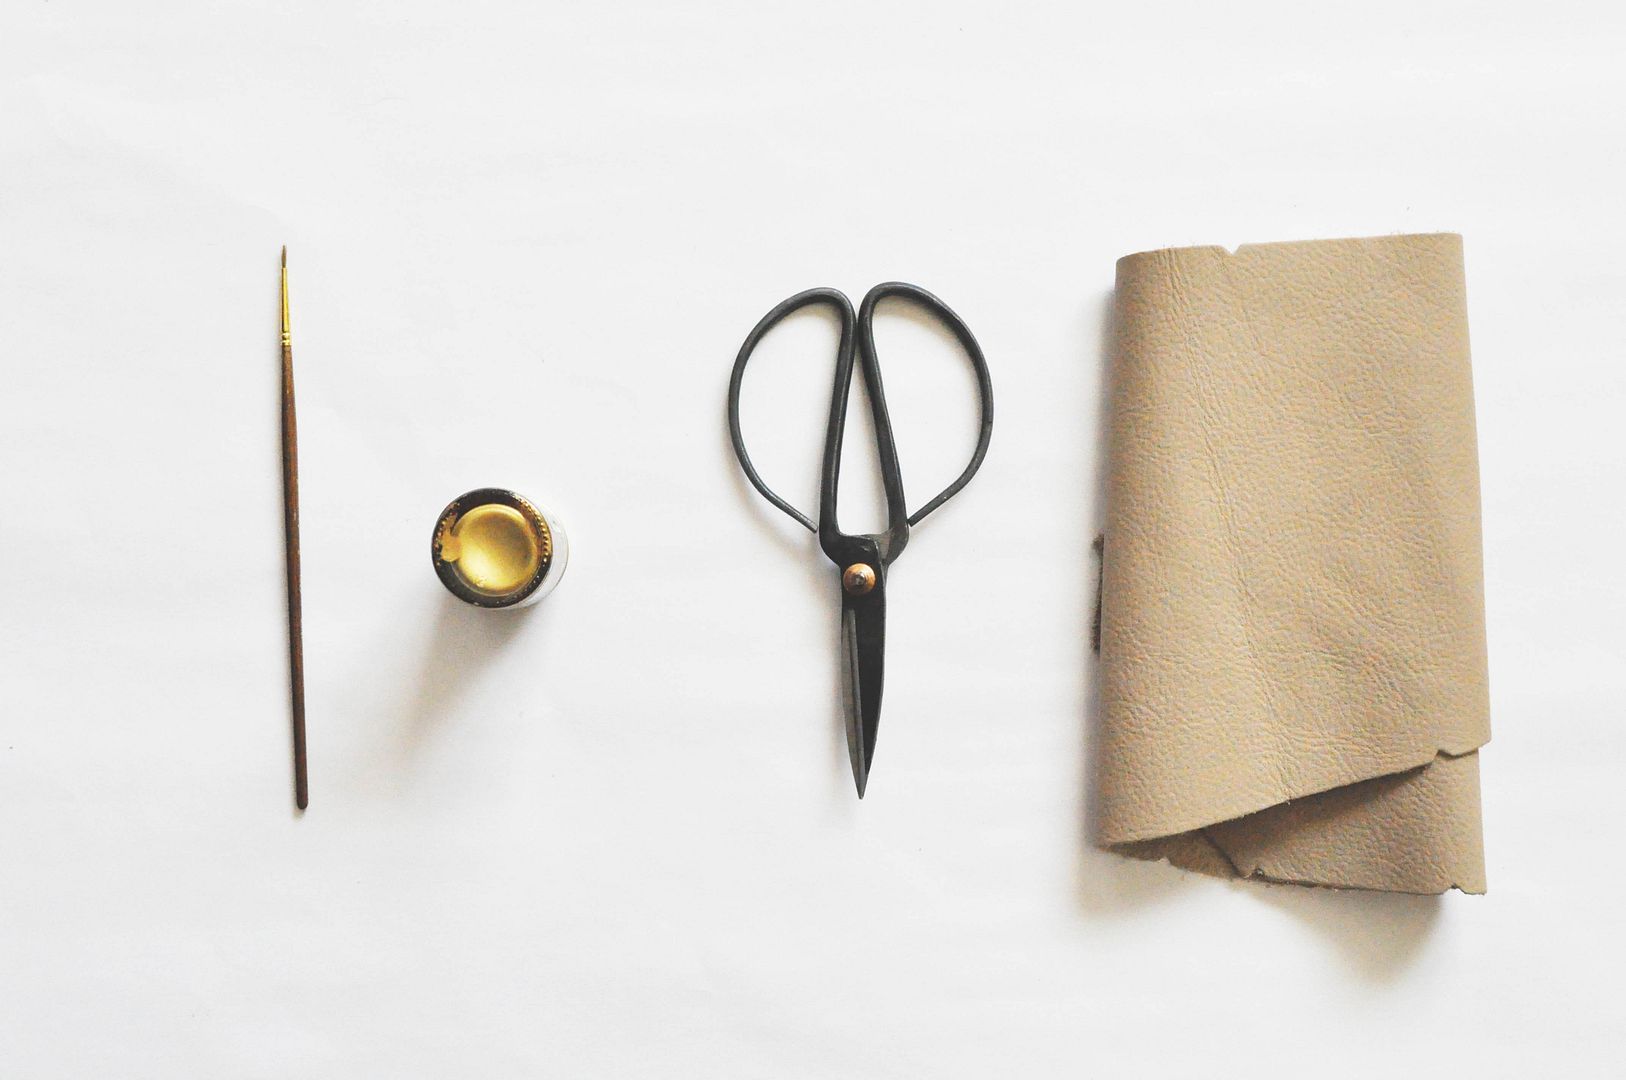
S U P P L I E S :: scrap leather, scissors, paint/brush, sewing machine

 photo 7_zps24c0998d.jpg
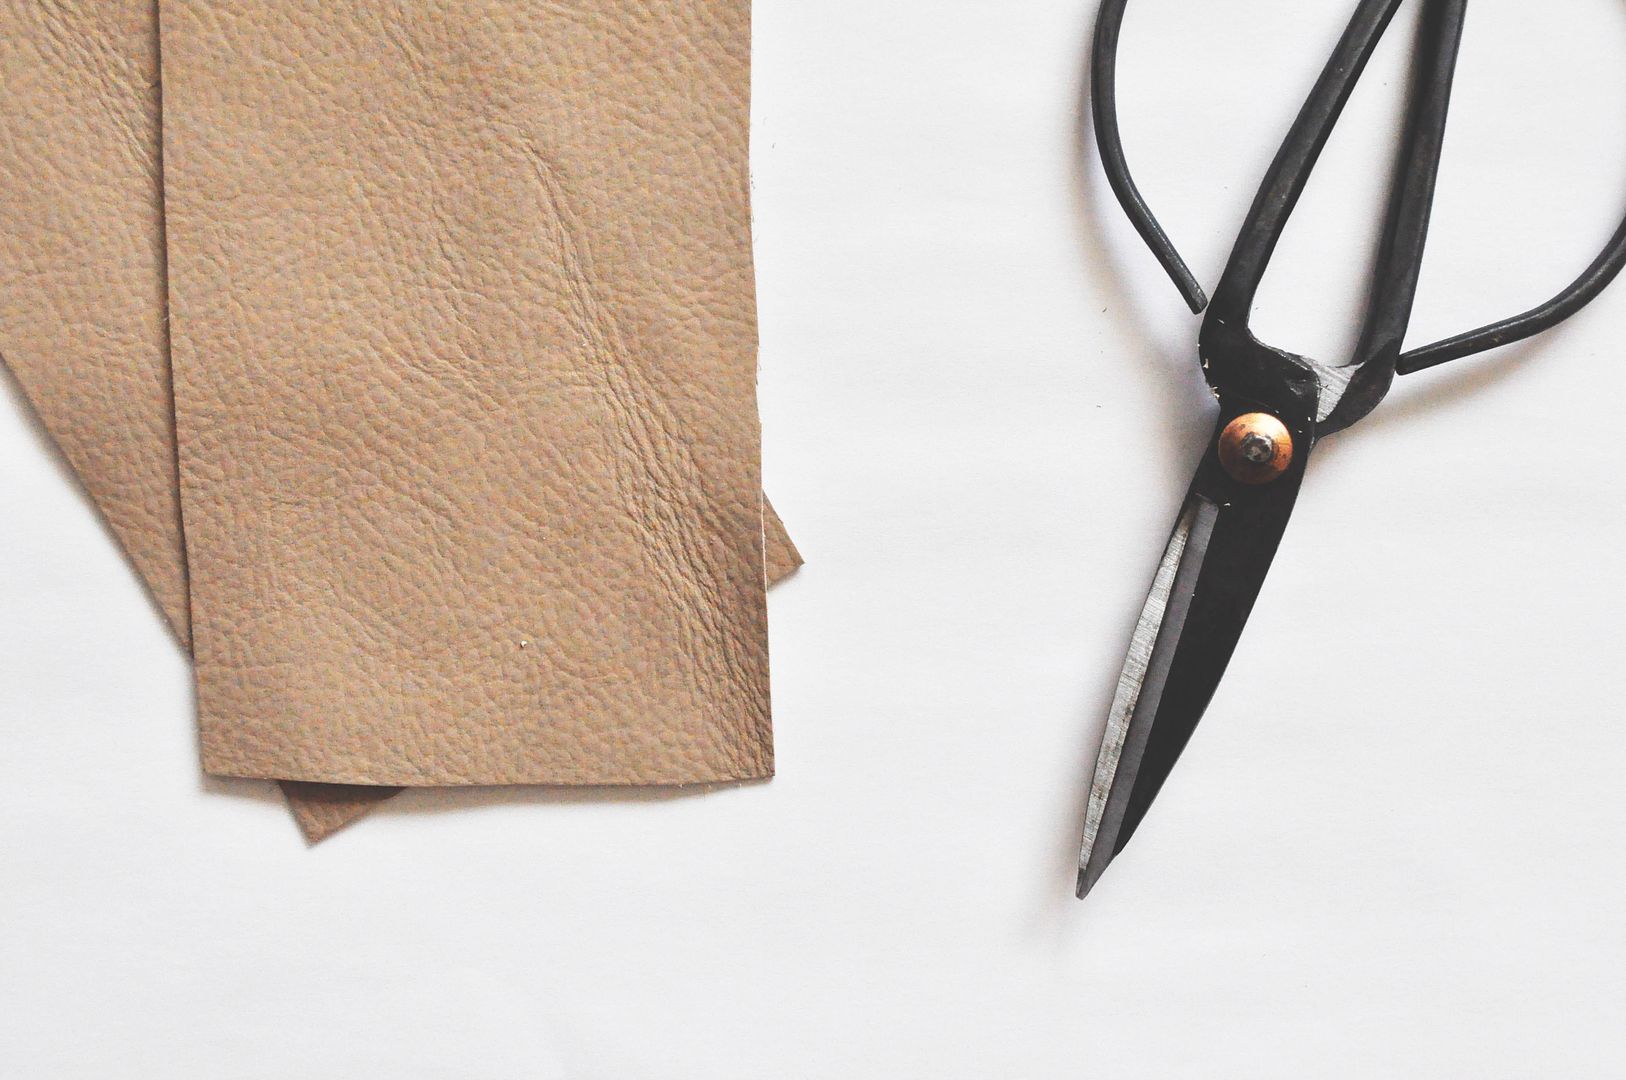
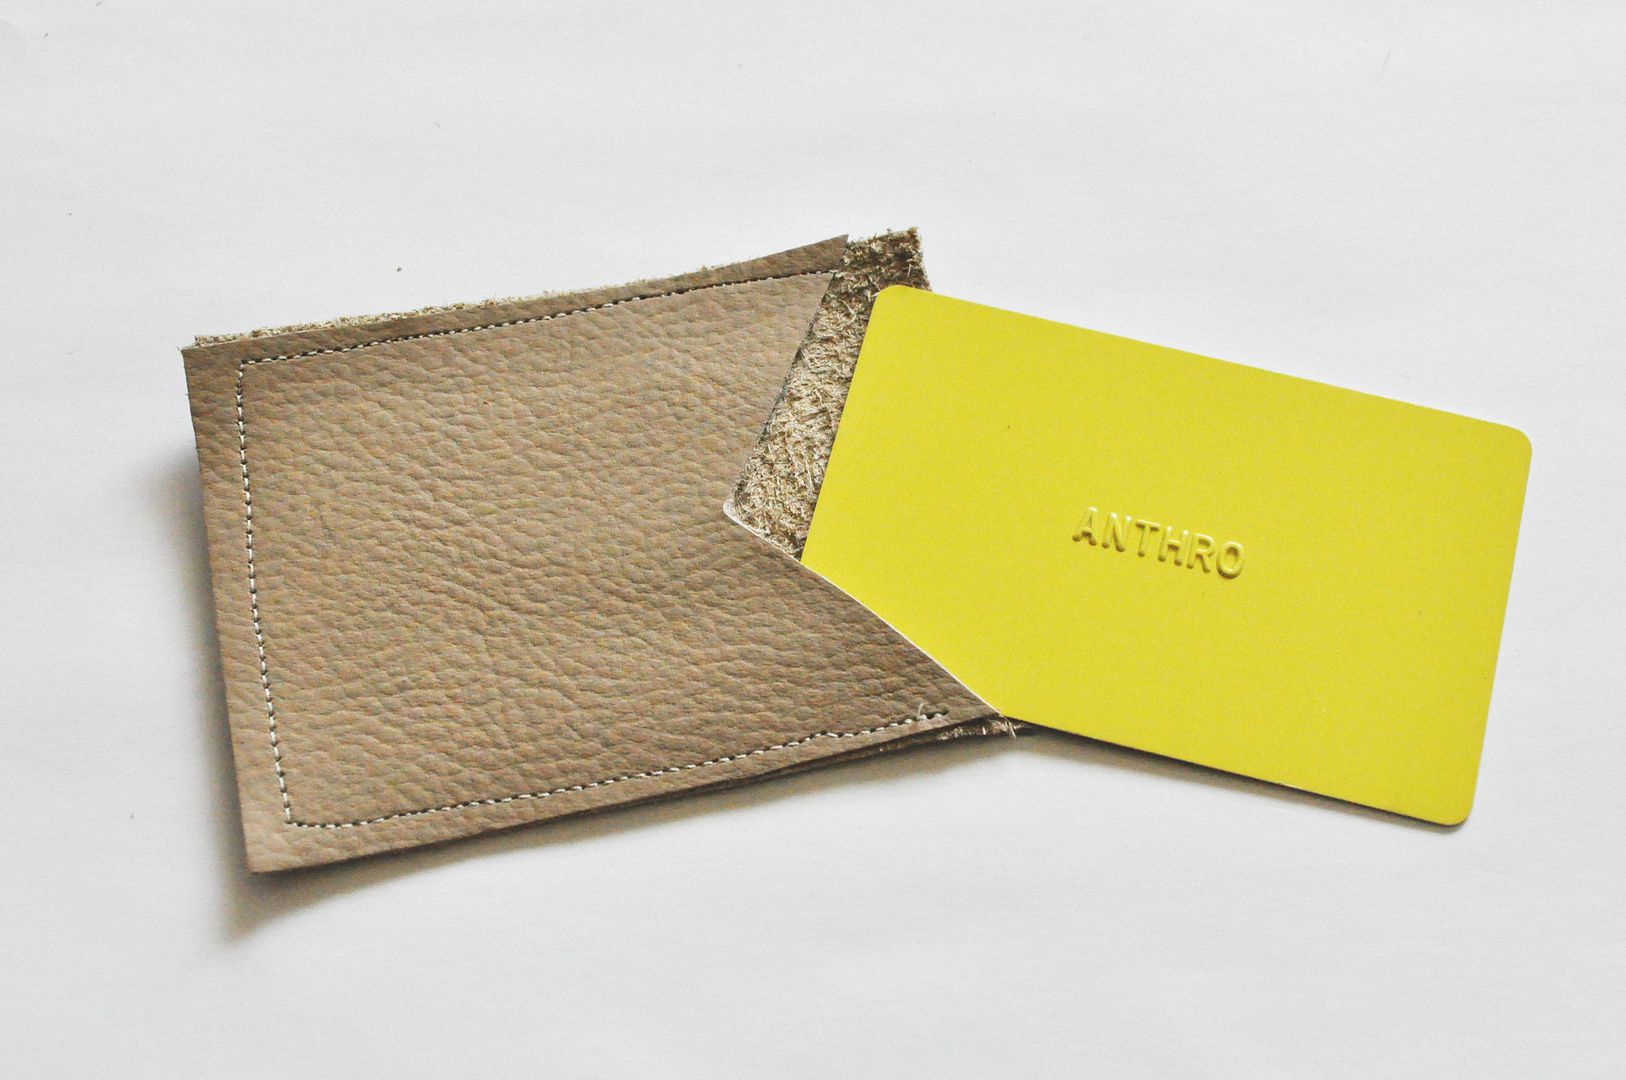
1) Begin my cutting out rectangles from your scrap leather. The easiest way is to place a card down and trace around it, leaving approximately 1/4 inch of extra space around each side. At the end of one piece, cut out a triangle shape - as seen in the photo below.

 photo 4_zps9118bfce.jpg
2 ) Using your sewing machine, use a simple stitch all the way around the two pieces of leather. Trim any excess pieces around the edges so they line up.

 photo 1_zpsb26cdd0a.jpg
 photo 2_zps2d5dd37a.jpg
Use your paint to add a little extra flair! I love the way the gold came out on the nude leather - it has a nice natural and understated look. This little project took about fifteen minutes and I love them! These would make great gifts too! As always, feel free to leave a comment with any links that show how yours came out!

xo. mel