PS About shop portfolio
Showing posts with label leather. Show all posts

6.09.2014

MA K E :: leather card holder

 photo cover_zpsfa1c3080.jpg
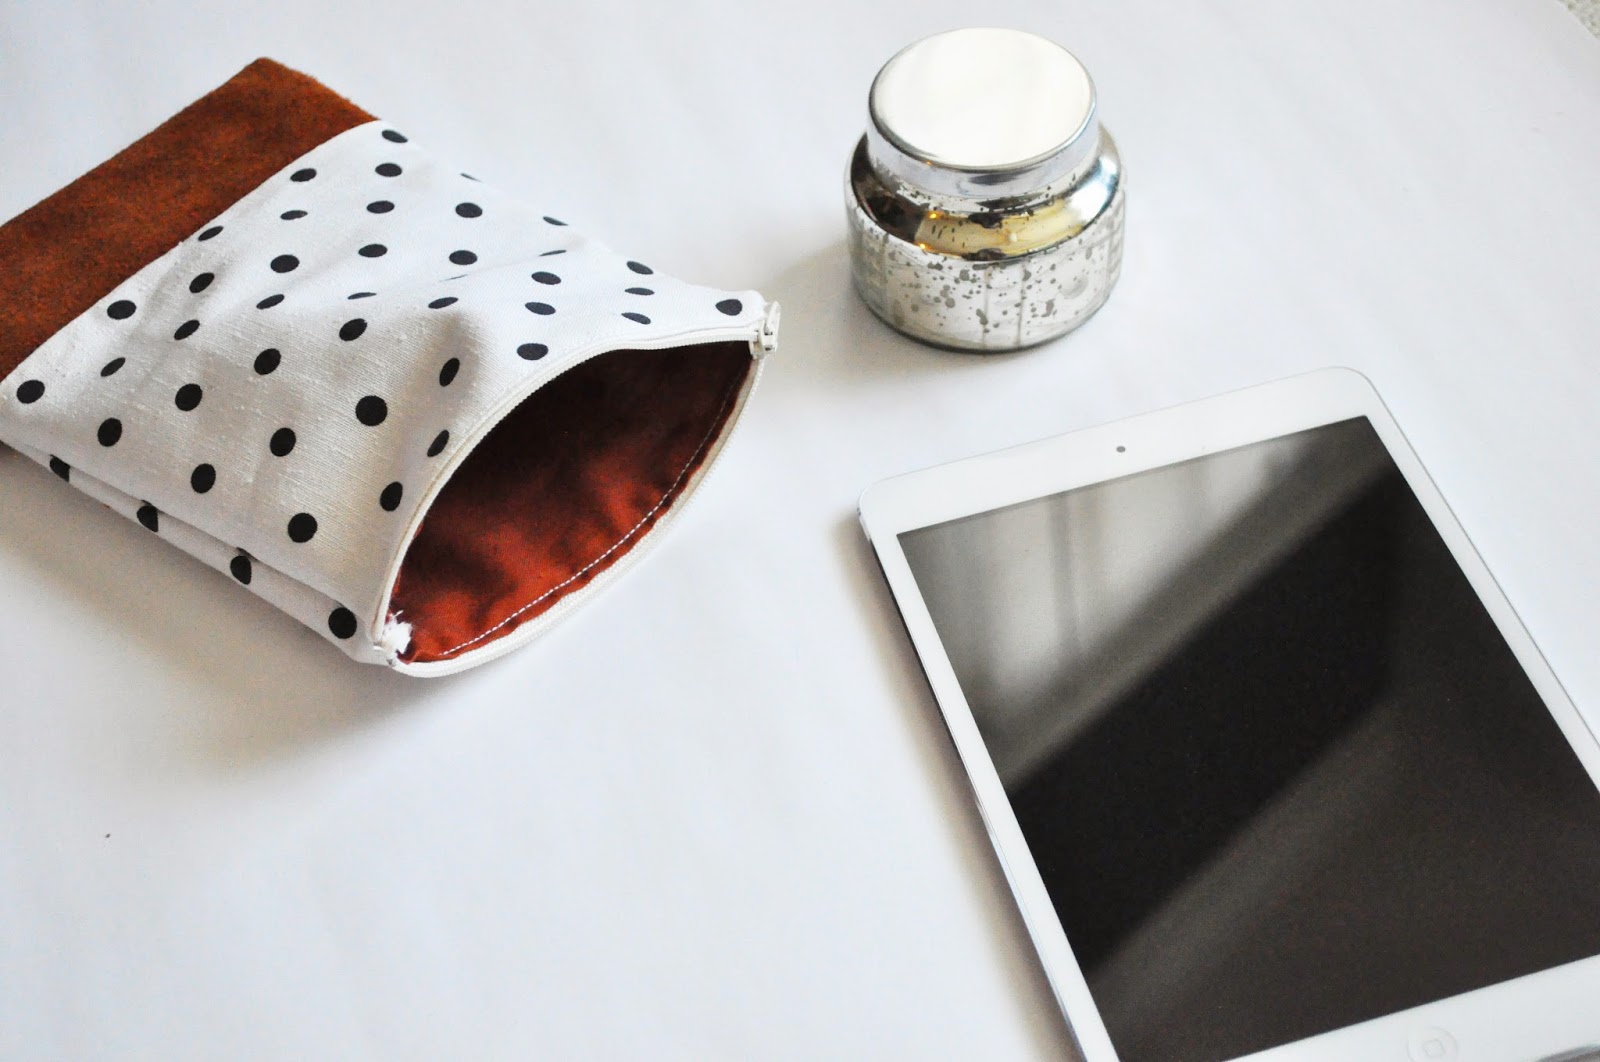
The Summer time is full of days at the beach or pool, where you don't really want to take a big purse. I love to grab a little satchel filled with my essentials. Instead of throwing my whole wallet in there, I like to have a few cards and cash, ya know, just in case. These little leather card holders are just the trick and they're the easiest to whip up!

 photo supplies_zps2b55b2b3.jpg
S U P P L I E S :: scrap leather, scissors, paint/brush, sewing machine

 photo 7_zps24c0998d.jpg
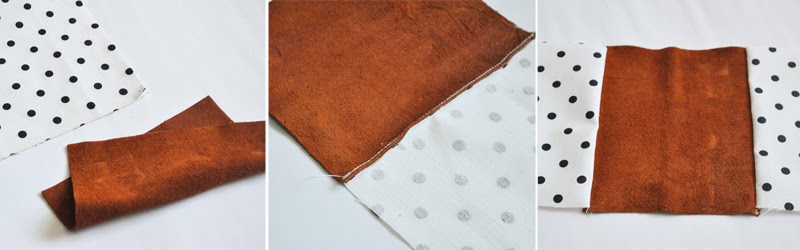
1) Begin my cutting out rectangles from your scrap leather. The easiest way is to place a card down and trace around it, leaving approximately 1/4 inch of extra space around each side. At the end of one piece, cut out a triangle shape - as seen in the photo below.

 photo 4_zps9118bfce.jpg
2 ) Using your sewing machine, use a simple stitch all the way around the two pieces of leather. Trim any excess pieces around the edges so they line up.

 photo 1_zpsb26cdd0a.jpg
 photo 2_zps2d5dd37a.jpg
Use your paint to add a little extra flair! I love the way the gold came out on the nude leather - it has a nice natural and understated look. This little project took about fifteen minutes and I love them! These would make great gifts too! As always, feel free to leave a comment with any links that show how yours came out!

xo. mel

1.08.2014

M A K E :: ipad pouch


I was so excited to get an iPad for Christmas! I've been wanting one for quite some time, and I've been using it everyday. I immediately went out and bought a case for it, so it wouldn't get scratched, but I wanted to have an alternative to a big bulky case that's connected to it, so I thought I'd make a little pouch for it! This is a really fun and easy beginners sewing project. And it can be adapted in several ways to make a ton of different sized pouches! I'm thinking i'll make a matching one for my laptop!


S U P P L I E S  :: zipper, fabric/piece of leather, scissors, pins, sewing machine (not pictured), ipad (not necessary for making, but it helps to have handy in case you need to measure

E A S Y    A S   1 , 2 , 3
1. Cut your fabric to the appropriate dimensions of your iPad, with about half an inch extra along each side (for sewing). You'll need an inside and an outside fabric. Gather your fabric pieces and your leather // 2.  Using your sewing machine, stitch along the bottom edge of your fabric and the piece of leather. Make sure that you have the outside of your fabric facedown // 3. Repeat with the other piece of fabric, and stitch to the other end of the leather, so that both pieces are on either side of fabric, then flip over so it looks like the photo above. This will be the bottom/sides of your pouch!

4. If your fabric doesn't lay flat, then use an iron to help press it down. Be sure to layer a thin piece of fabric over the leather, so the iron doesn't directly touch it. It's okay if you have pieces that hang off a little, you can trim them.

5. Flip your stitched pieces back upside down // 6. You will now lay the inside piece of fabric, so that it lines up perfectly // 7. fold the fabric in half, so that the "inside" fabric is now showing on the outside, and pin in place. 

8. Secure your zipper. slightly fold the top part of your fabric, so there aren't any raw edges showing. Then place the zipper between the inside and outside fabric. Use pins to keep it in place  // 9. Use your sewing machine to sew all the edges // 10. Sew the zipper on one side, then unzip and sew the other side. Turn the pouch inside out and place your iPad inside! hooray!

If you'd like a little more protection, you can always add a layer of foam cushioning. 


I can't wait to see how yours turn out! Leave a link below and let us see what you made!


xo. melisa