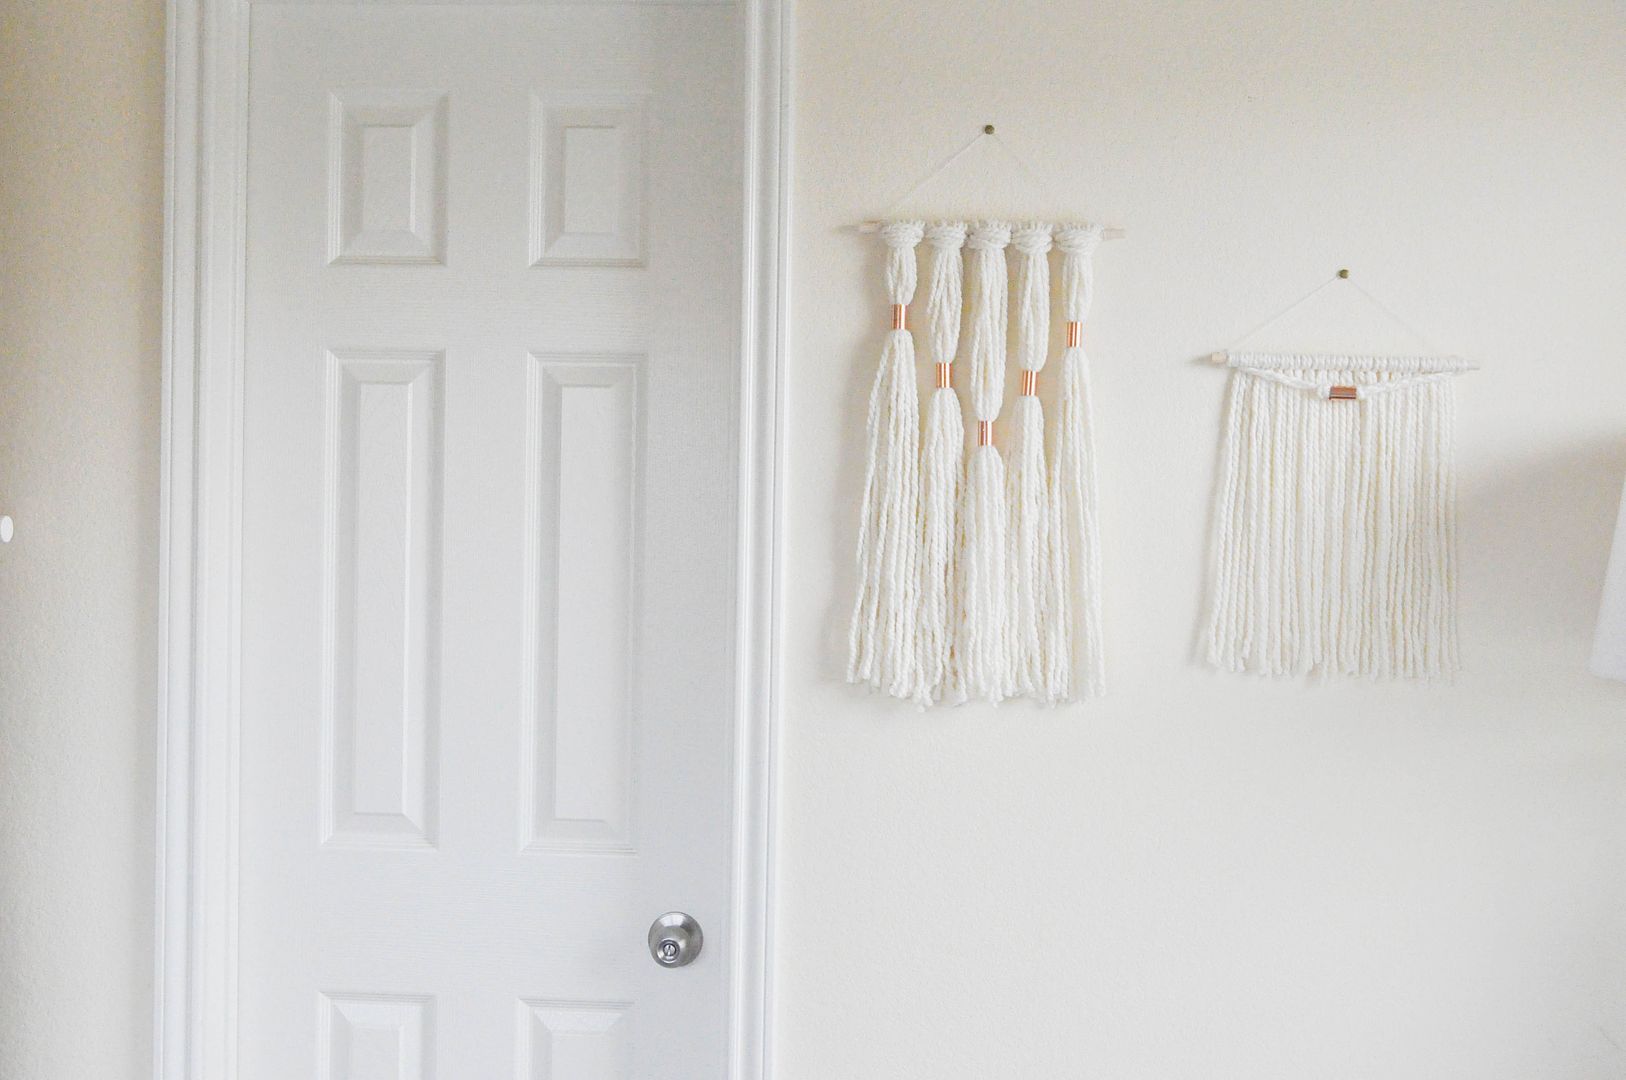
The incredible thing about having a home is that you have
this little spot in the world that's yours, a place that God has provided and
allowed you to make your own. I love being able to express my creativity in
creating art for our home. I look forward to our future children looking at
these pieces and cherishing them as treasures as they grow old -- something I
can pass on to them that will someday make their own house a home. I have seen
so many beautiful weavings on the internet lately, so I wanted to create
something with a similar feel. Our walls have been pretty bare since moving
into our apartment, and these lovely wall hangings have added just the right
touch to our home!
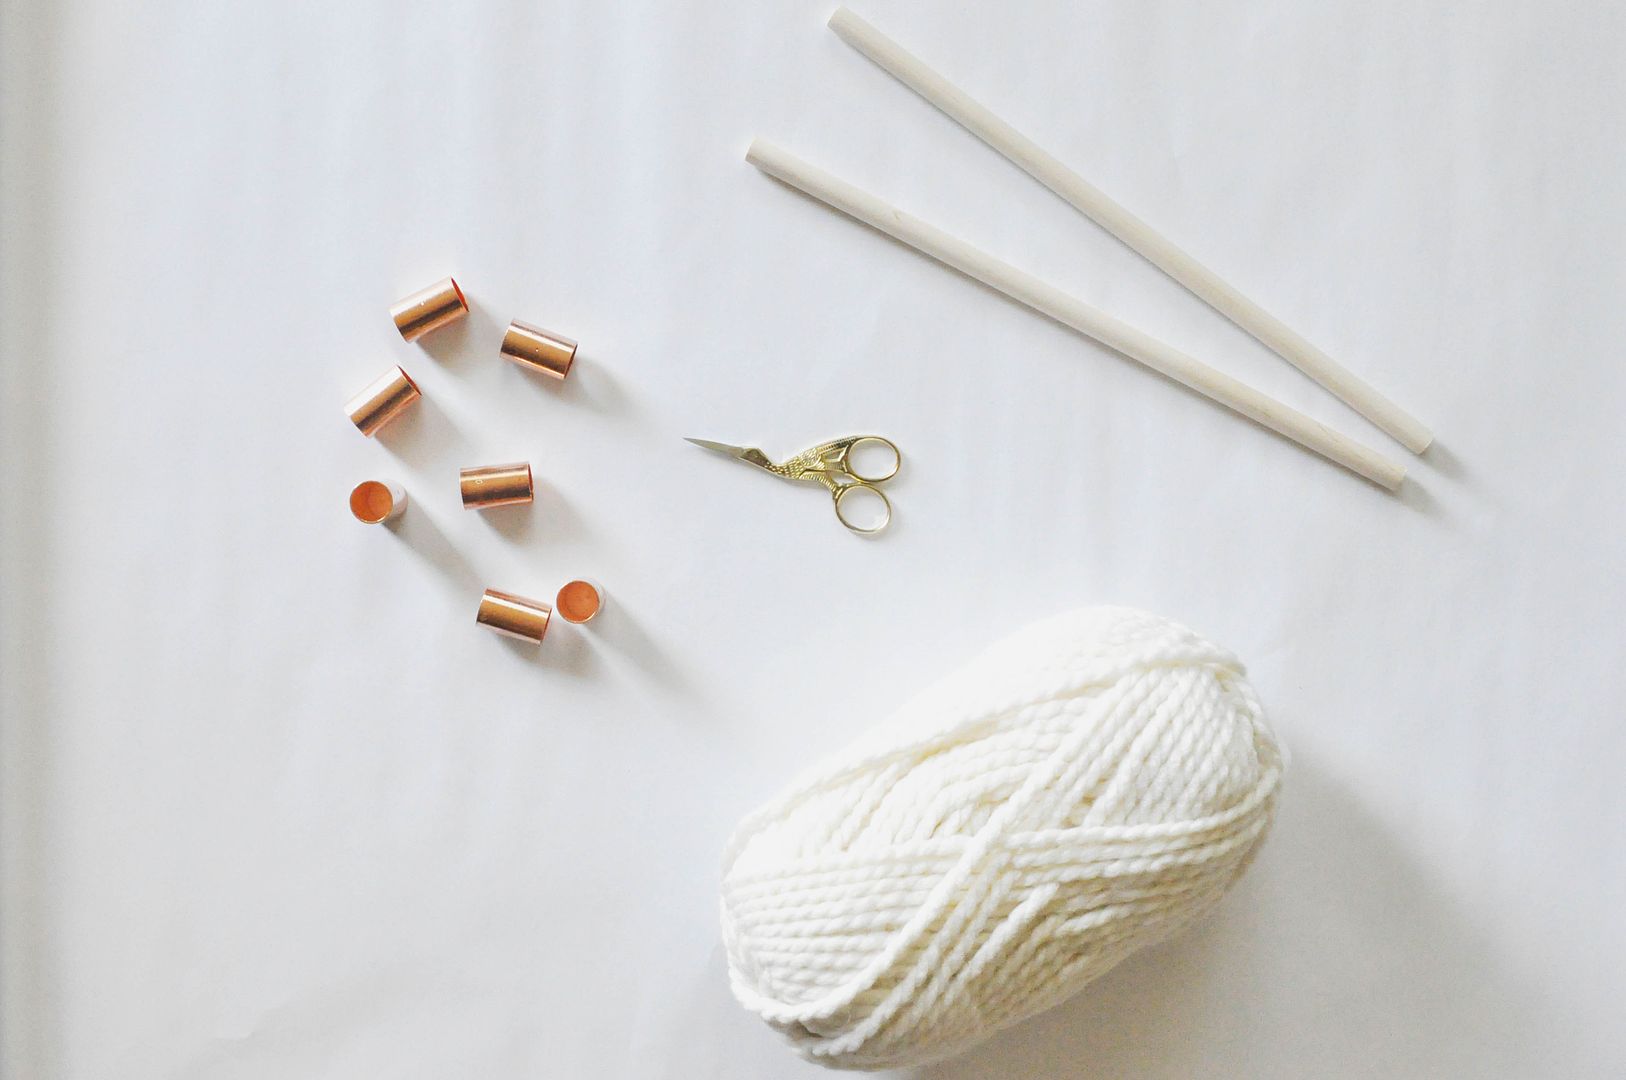
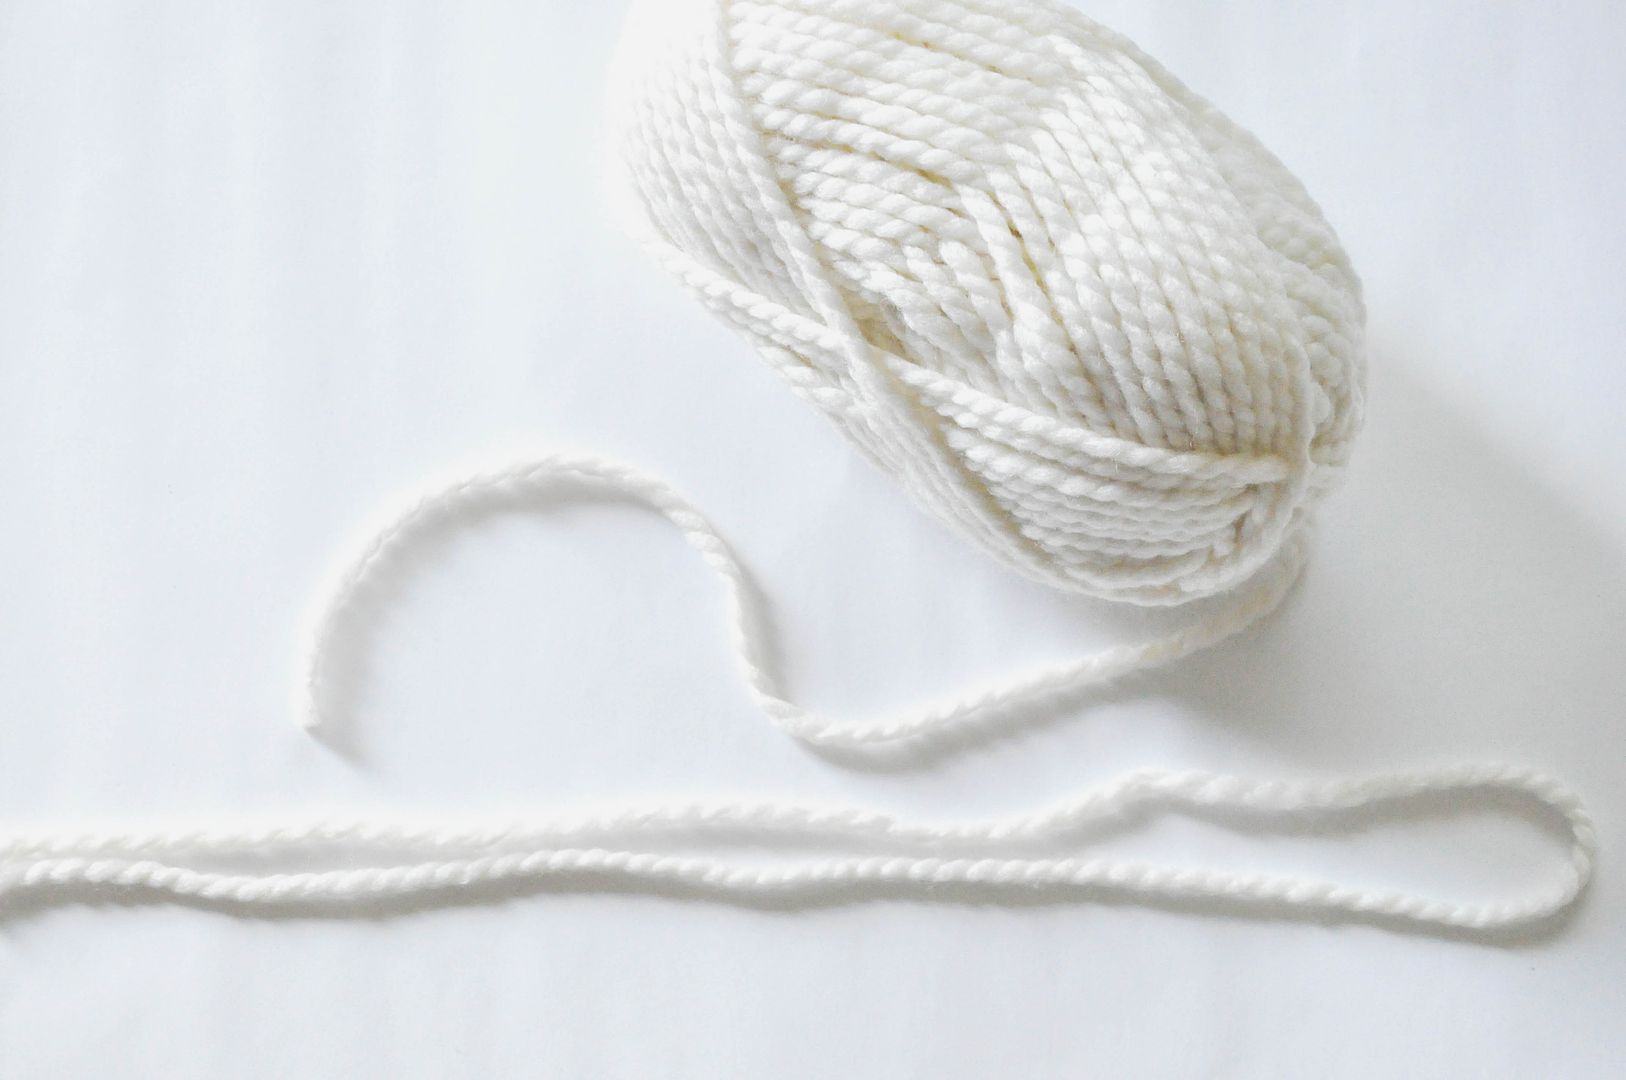
S U P P L I E S :: skein of yarn, copper couplings, two wooden dowels, scissors
1. Gather your supplies. Begin by cutting your yarn into
18-inch strands (this can be adjusted based on the length you'd like the
finished product to be).
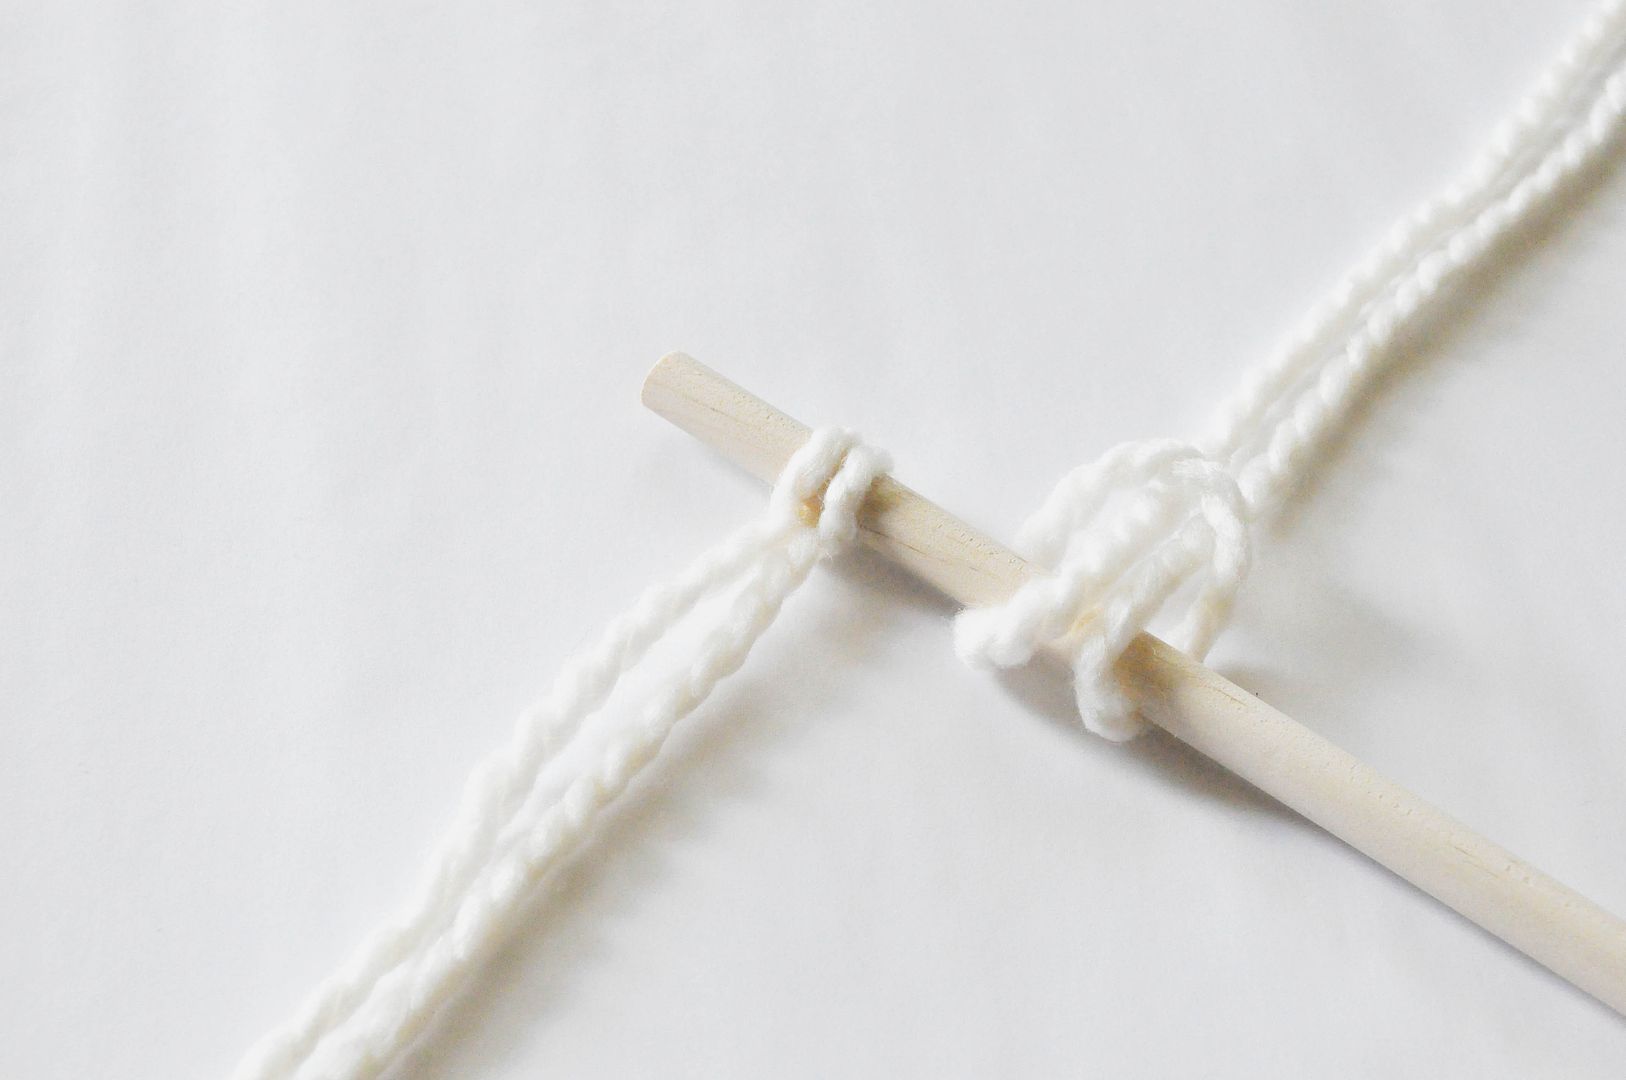
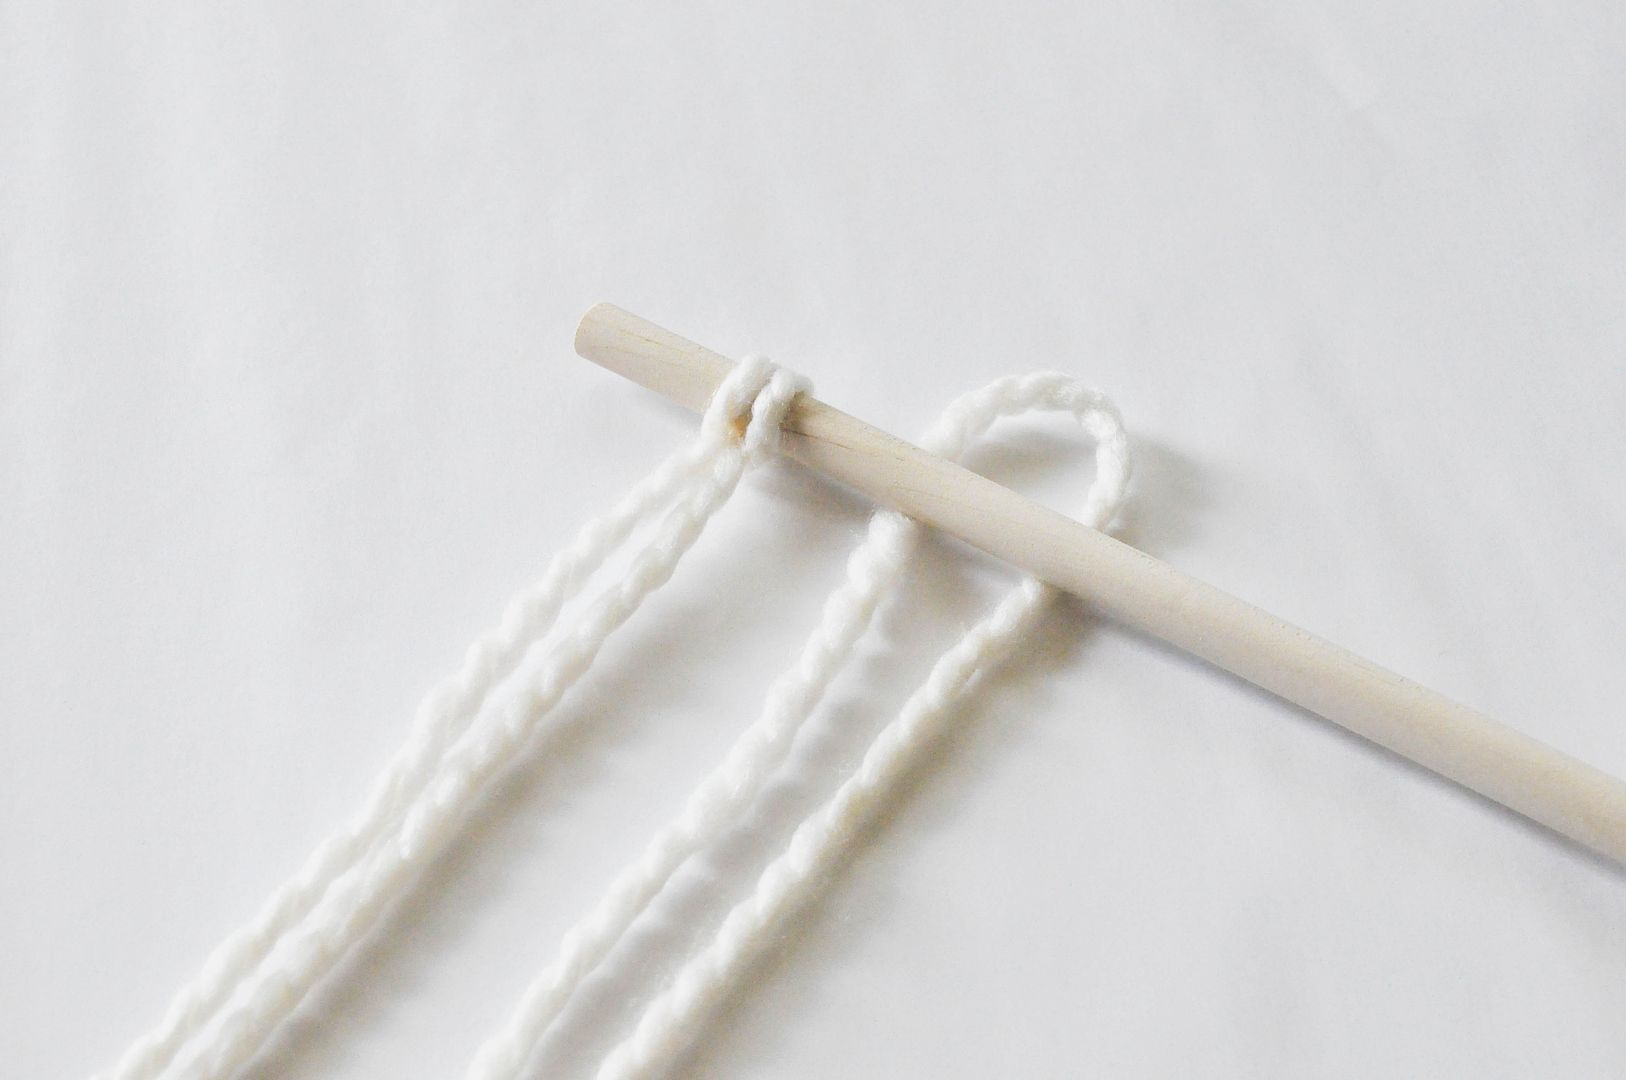
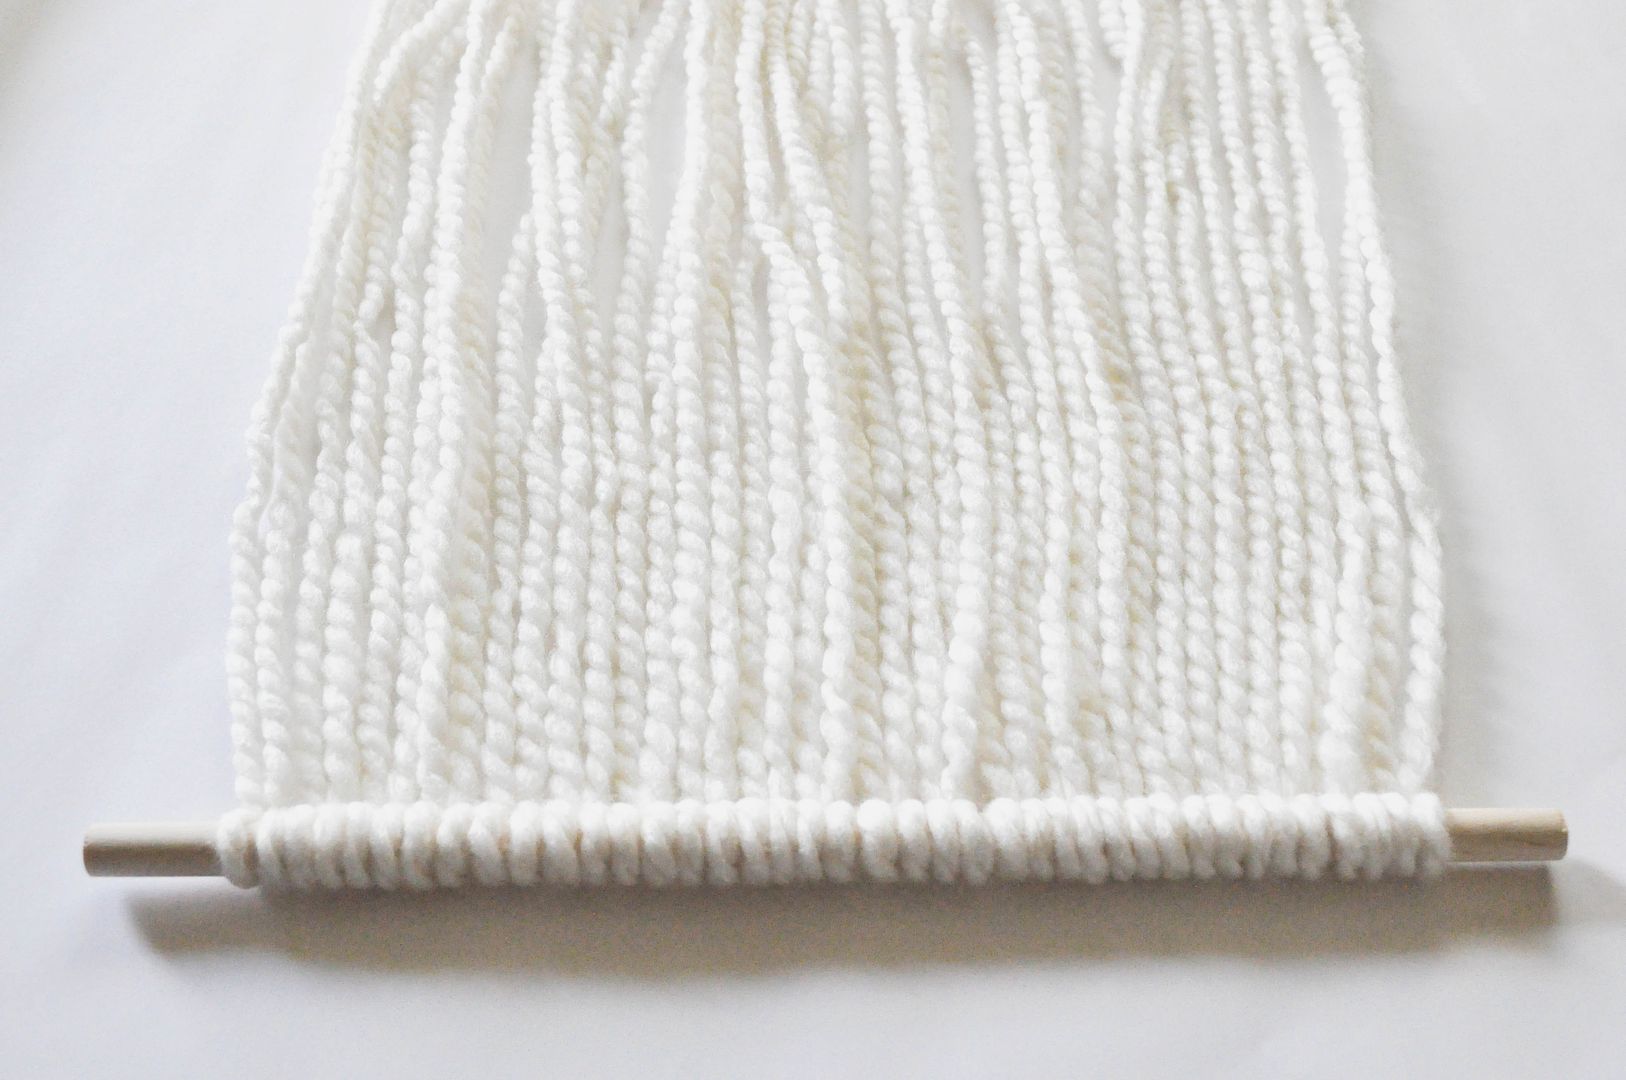
2. Once your strands are cut, fold them in half and place
the ends through the loop as pictured. Do this all the way across the wooden
dowel.
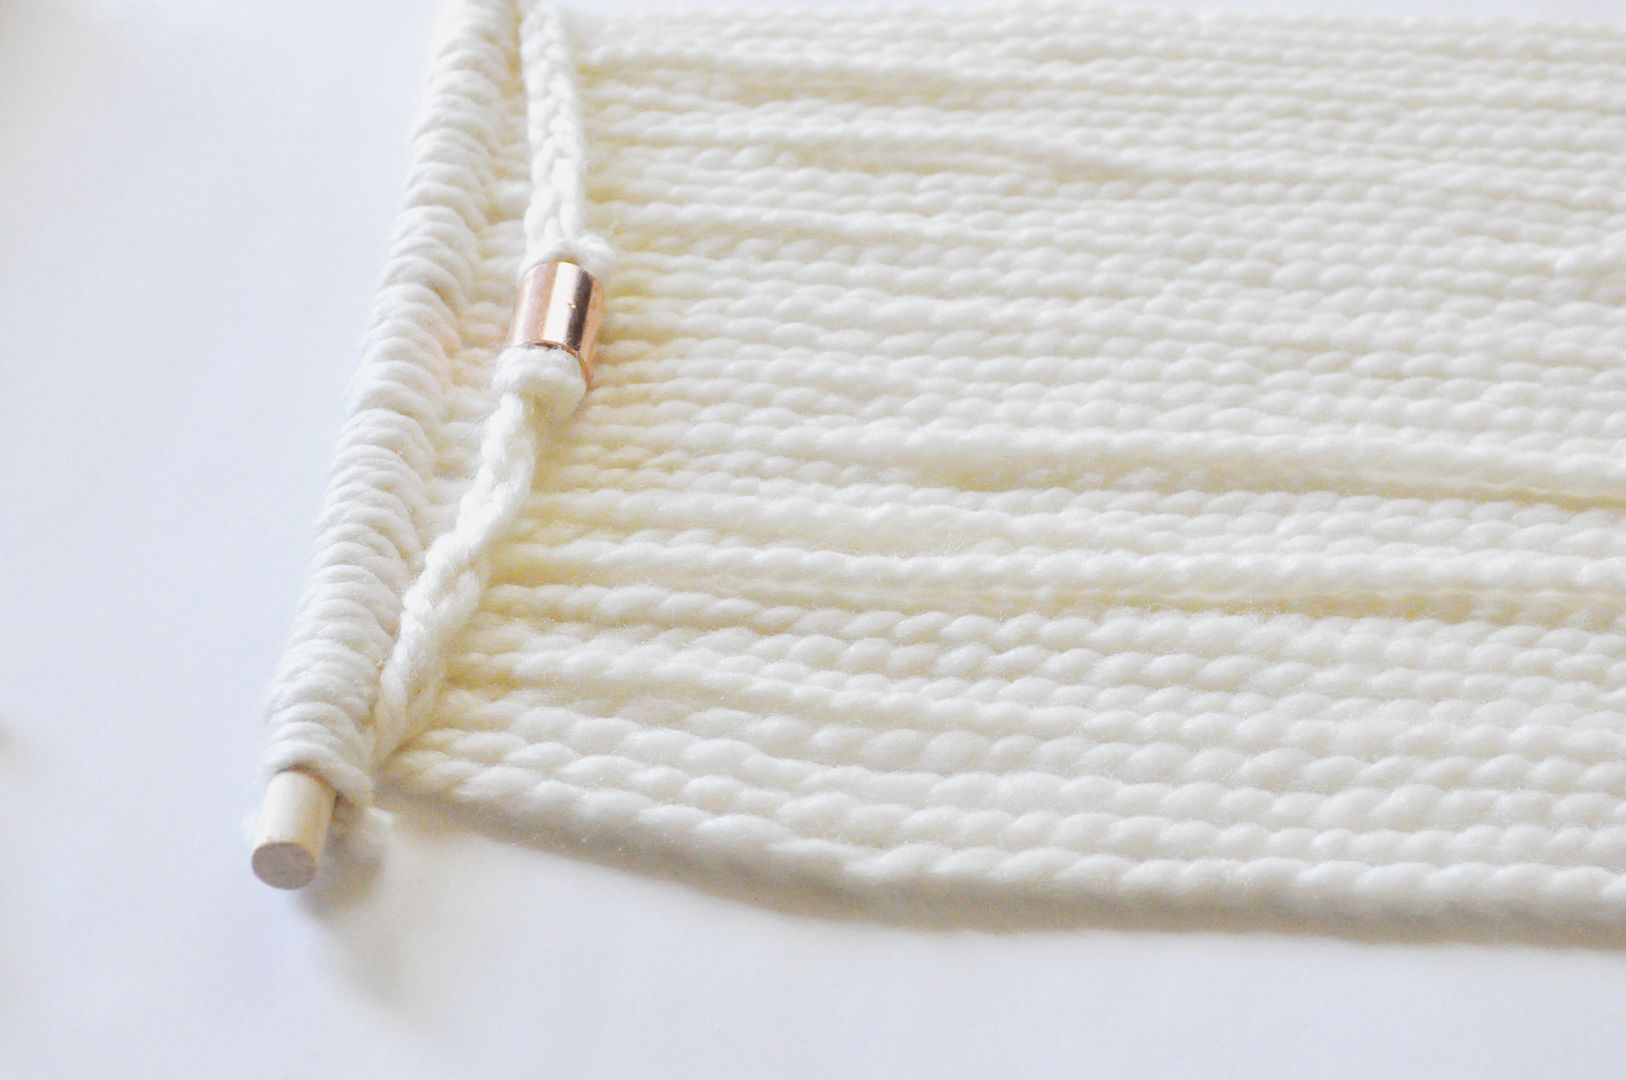
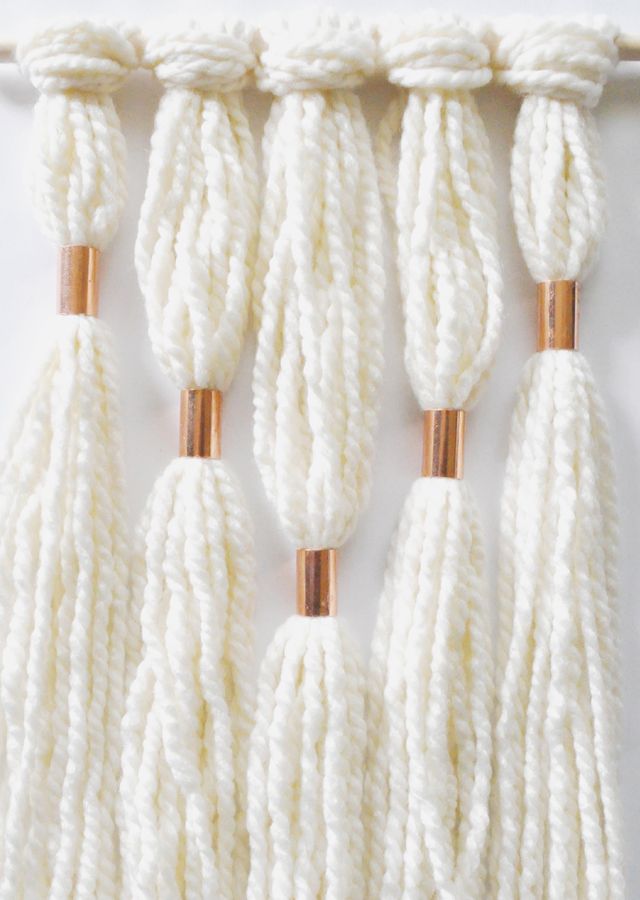
3. Take three strands of yarn and braid them together.
Halfway through the braid, tie a knot and place a copper coupling. Tie a knot
on the other side of the coupling and continue braiding. Tie each end to either
end of the dowel.
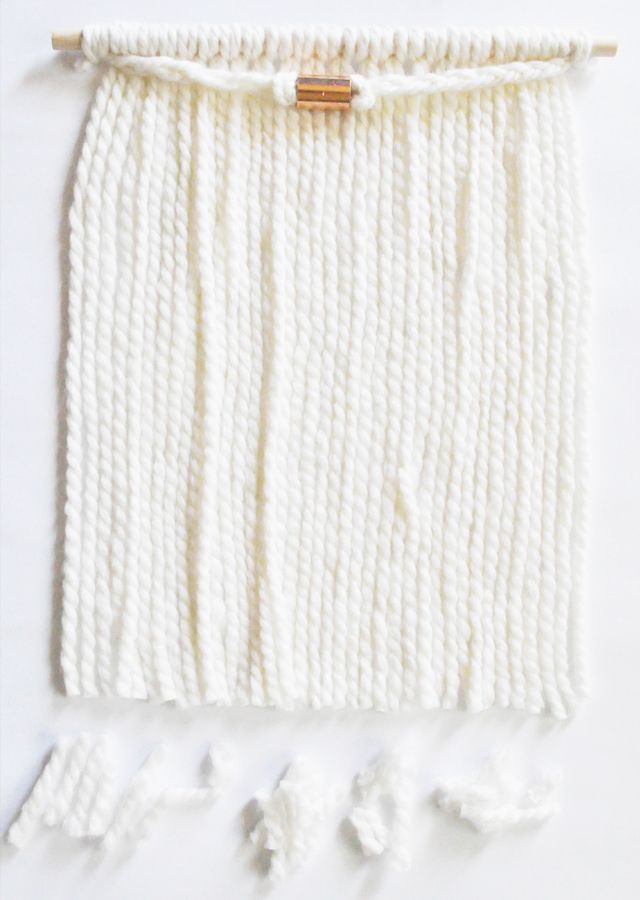
4. Place a notebook or piece of cardboard atop the ends of
your wall hanging. Use this as a guide to trim the excess yarn and create an
even line.
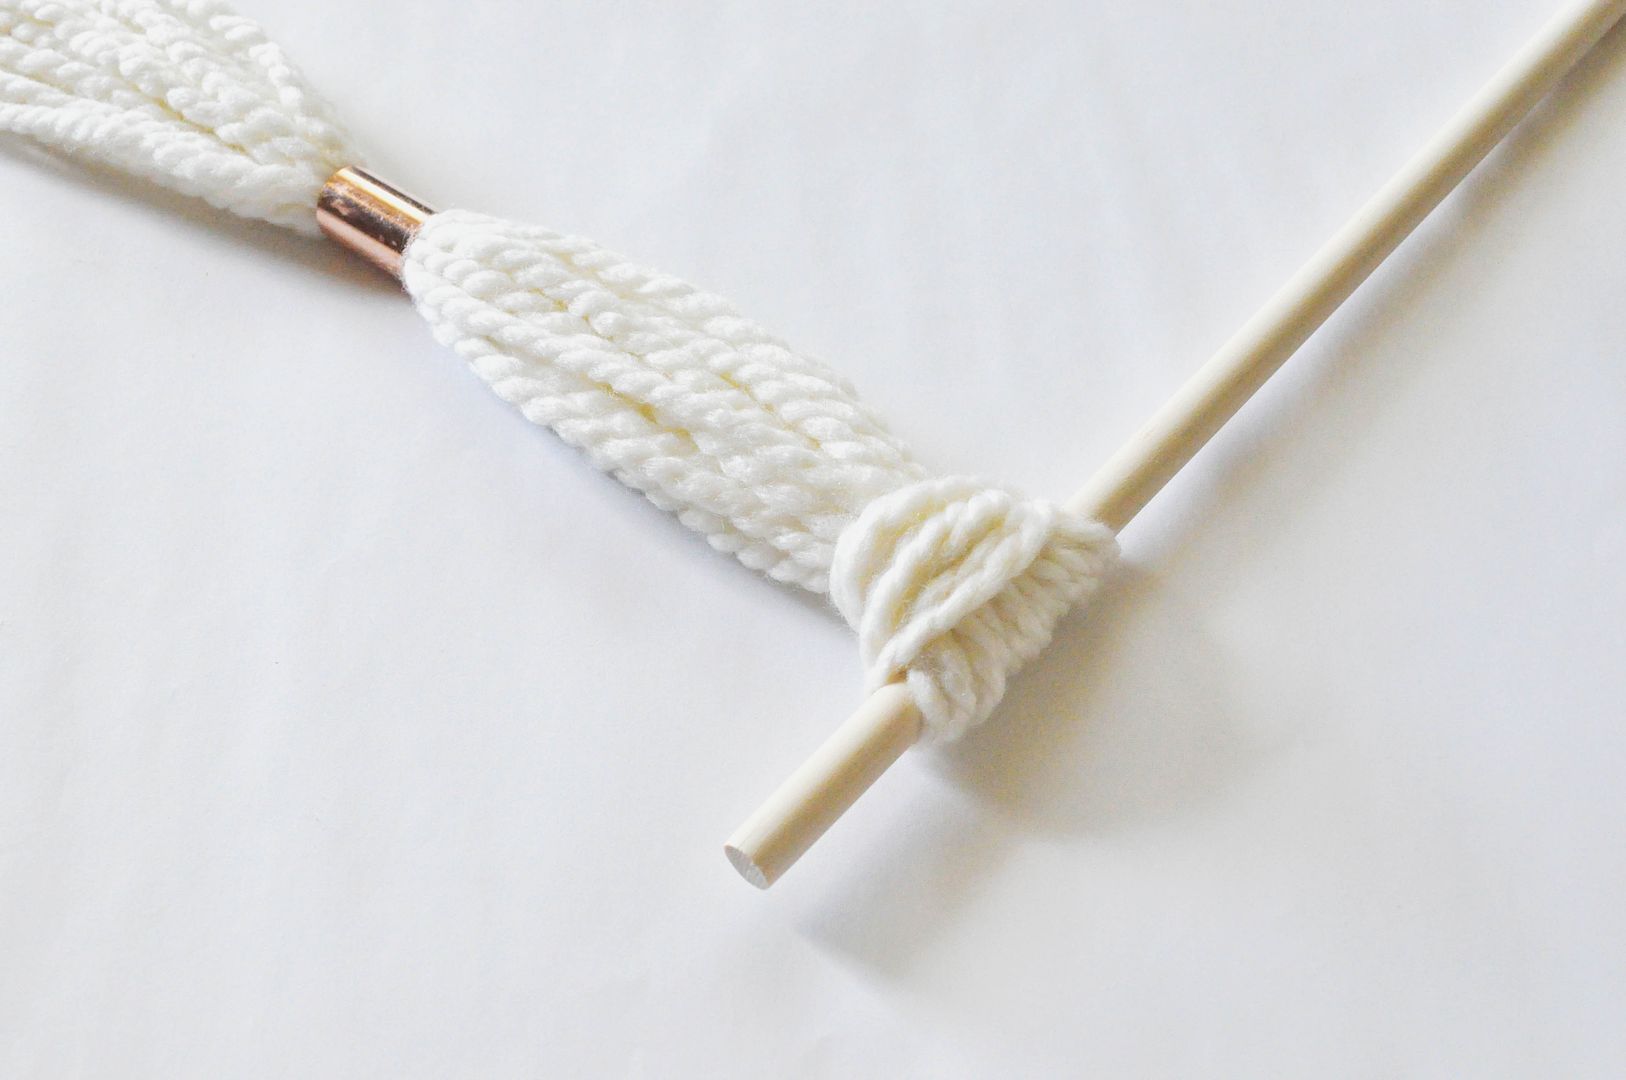
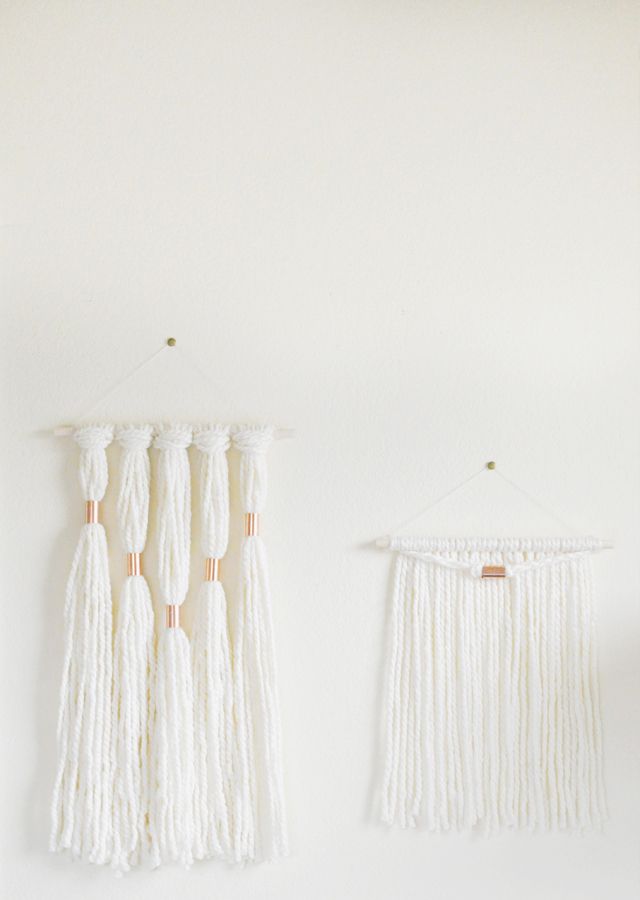
Variation : Use the same technique to wrap the strands of yarn, but cut the strands to be twice as long, collect ten of them together, and then attach.
5. Use string or yarn to create the top hanger by tying a
loop around each end and placing the dowel inside the loops. You can also make
other decorative hangings by trying out other tying and hanging combinations.
Display and enjoy!
I previously shared this post on the Deeply Rooted blog, which you can view here. If you haven't already checked out Deeply Rooted, I strongly suggest you do! I loved their first issue and I can't wait to get my hands on Issue Two, which just became available! Yay!
xo. melisa


I really really love your crafts. I featured your blog as one of my favorites. http://www.juliwilliams.com/2014/06/blogs-i-love.html
ReplyDeleteJuli :)
I love this! I actually have little copper tubing laying around just waiting to be used. Great idea!
ReplyDeletexoxo
Taylor