PS About shop portfolio
Showing posts with label sew. Show all posts

2.25.2014

M A K E :: leather journals


I've mentioned before that I love to carry a small journal in my bag, in case some brilliant idea comes to me at the grocery store or at starbucks. I have a terrible memory, so I love being able to write it down immediately! I have always sort of had an obsession with journals (I'm sure I've owned 50+), but I always fill them up. It was time to get some new ones, so I thought I'd go ahead and make some!  


S U P P L I E S :: scrap leather, scissors, sheets of paper, sewing machine, letter punches


1.) Cut out the covers of your journal, which should be your basic rectangle shape - as big or as small as you'd like. I chose one larger size and two medium. 


2.) Using your covers as a guide, cut out the pages for your journal. Again, these should be rectangles, as you'll fold them in half to make the pages. Once they are cut, trim the edges about half an inch so that the pages will lie inside of the cover and not stick out.


3.) Using your sewing machine, sew right down the middle of each journal. It helps if you make a fold, so you can see your straight line. If your sewing machine decides to go a little crazy (like mine) and make your thread look strange, just roll with it!


4.) Take your letter punches and decide what you're going to spell. Make sure you have the spacing right, there's no backspace button. I chose the words "take note", "ideas" and "plan". You can use all of the appropriate tools for using your letter punches, or you can grab a steel block and hammer (like I did). Use what you've got!


These would make great gifts! And I love that you can personalize them with just about anything! They're also totally not gender specific either - I am definitely making a few of these for the husband! So, what do you think? Are you going to make some new leather journals??


xo. melisa

1.21.2014

M A K E :: mini notebooks


I don't know about you, but I love toting around little notebooks in my purse. I always have ideas or inspiration at the most random times, so having a notebook handy is crucial. With it being a new year, I wanted to have a fresh batch of mini notebooks ready to go! I decided to whip these little beauties up!

S U P P L I E S   ::  watercolor paper, paint/brushes, scissors, (tracing) paper, pen, sewing machine

E A S Y   A S    1 ,   2 ,   3   ::
1.) Gather your paint supplies and brush away! You can be as meticulous or random as you'd like. I just wanted brush strokes and I didn't want mine to look too perfect. You can always paint flowers, or words… just have fun with it!

 2.) Once your paper has dried, use your scissors to cut each sheet in half. If you have a paper cutter available, that's always helpful to make your edges nice and straight.

3. ) Once your sheets are cut, you can begin to decorate your "covers" using your pen/marker. Another alternative is gluing photos to the front, or using magazine pages like this diy.

4.) Cut the paper you'll be using as your "pages", slightly smaller then your "cover" sheet. I decided to use tracing paper, because I'm obsessed with how fun it is to write on. Seriously, try it. Tracing paper is also pretty sturdy, so you don't have to worry about pages tearing easily when you sew. Use a binder clip, or anything else you may have, to bind the pages together. This will make sewing SO much easier.

5.) Mark where the fold will be and begin to sew from top to bottom! Fold your notebook in half and lay something heavy on it for a few minutes so it stays closed. You're done!!


I'm in love with how these turned out and I promise it's so so easy to do! I can't wait to see how yours turn out - and again, there are SO many different variations you can do! I'd love to see how yours turn out; leave a link!


xo. melisa

1.08.2014

M A K E :: ipad pouch


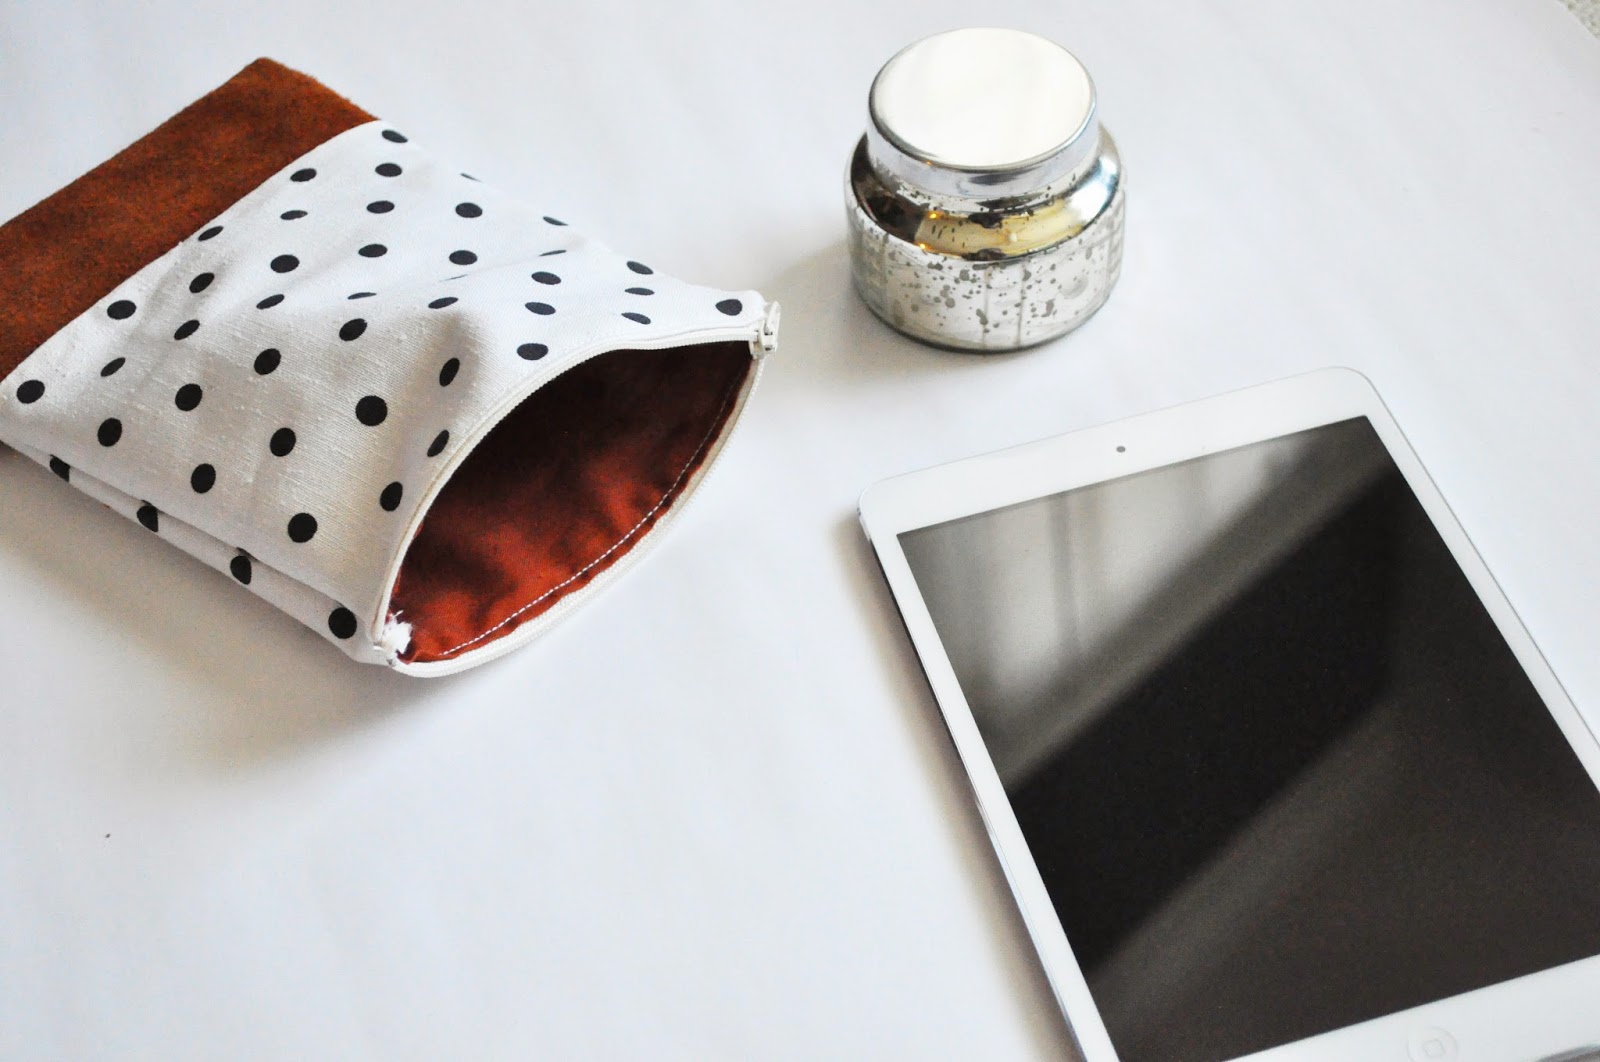
I was so excited to get an iPad for Christmas! I've been wanting one for quite some time, and I've been using it everyday. I immediately went out and bought a case for it, so it wouldn't get scratched, but I wanted to have an alternative to a big bulky case that's connected to it, so I thought I'd make a little pouch for it! This is a really fun and easy beginners sewing project. And it can be adapted in several ways to make a ton of different sized pouches! I'm thinking i'll make a matching one for my laptop!


S U P P L I E S  :: zipper, fabric/piece of leather, scissors, pins, sewing machine (not pictured), ipad (not necessary for making, but it helps to have handy in case you need to measure

E A S Y    A S   1 , 2 , 3
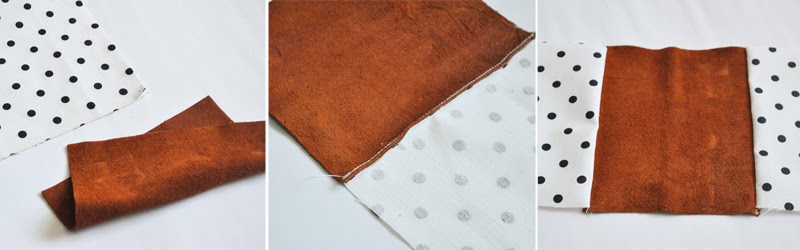
1. Cut your fabric to the appropriate dimensions of your iPad, with about half an inch extra along each side (for sewing). You'll need an inside and an outside fabric. Gather your fabric pieces and your leather // 2.  Using your sewing machine, stitch along the bottom edge of your fabric and the piece of leather. Make sure that you have the outside of your fabric facedown // 3. Repeat with the other piece of fabric, and stitch to the other end of the leather, so that both pieces are on either side of fabric, then flip over so it looks like the photo above. This will be the bottom/sides of your pouch!

4. If your fabric doesn't lay flat, then use an iron to help press it down. Be sure to layer a thin piece of fabric over the leather, so the iron doesn't directly touch it. It's okay if you have pieces that hang off a little, you can trim them.

5. Flip your stitched pieces back upside down // 6. You will now lay the inside piece of fabric, so that it lines up perfectly // 7. fold the fabric in half, so that the "inside" fabric is now showing on the outside, and pin in place. 

8. Secure your zipper. slightly fold the top part of your fabric, so there aren't any raw edges showing. Then place the zipper between the inside and outside fabric. Use pins to keep it in place  // 9. Use your sewing machine to sew all the edges // 10. Sew the zipper on one side, then unzip and sew the other side. Turn the pouch inside out and place your iPad inside! hooray!

If you'd like a little more protection, you can always add a layer of foam cushioning. 


I can't wait to see how yours turn out! Leave a link below and let us see what you made!


xo. melisa