PS About shop portfolio
Showing posts with label booth. Show all posts

3.17.2014

B I T S + P I E C E S


This weekend was the Walk the Light festival! We had so much fun meeting new faces and in spite of the rain, really had a blast. We actually ended up getting completely rained out around 5pm (it was supposed to go til 10), but it was so worth it! I was really thankful for supportive friends who stopped by in spite of the weather and grateful for meeting new friends! I also shared one of my brand new products - Embroidered Monogram Wall Hangings! I still have a few left over and am hoping to list them in the shop soon. In the meantime, if you'd like to place an order beforehand, feel free to email me! They are great for wedding gifts or welcoming a new baby! I'm pretty smitten with them myself!

How was your weekend? This Monday was unusually difficult to get hyped up for, anyone else? I think it's because the weather here has been cold and rainy. It's March. I am beyond ready for Spring!


xo. melisa


3.16.2013

bits + pieces


Getting everything ready for Walk The Light today! I found the most incredible printing press drawer for my ring display; one of those pieces that I've been on the hunt for for years. I love how everything has come together and I can't wait to share how it all looks!


xo. melisa

11.30.2012

boothing


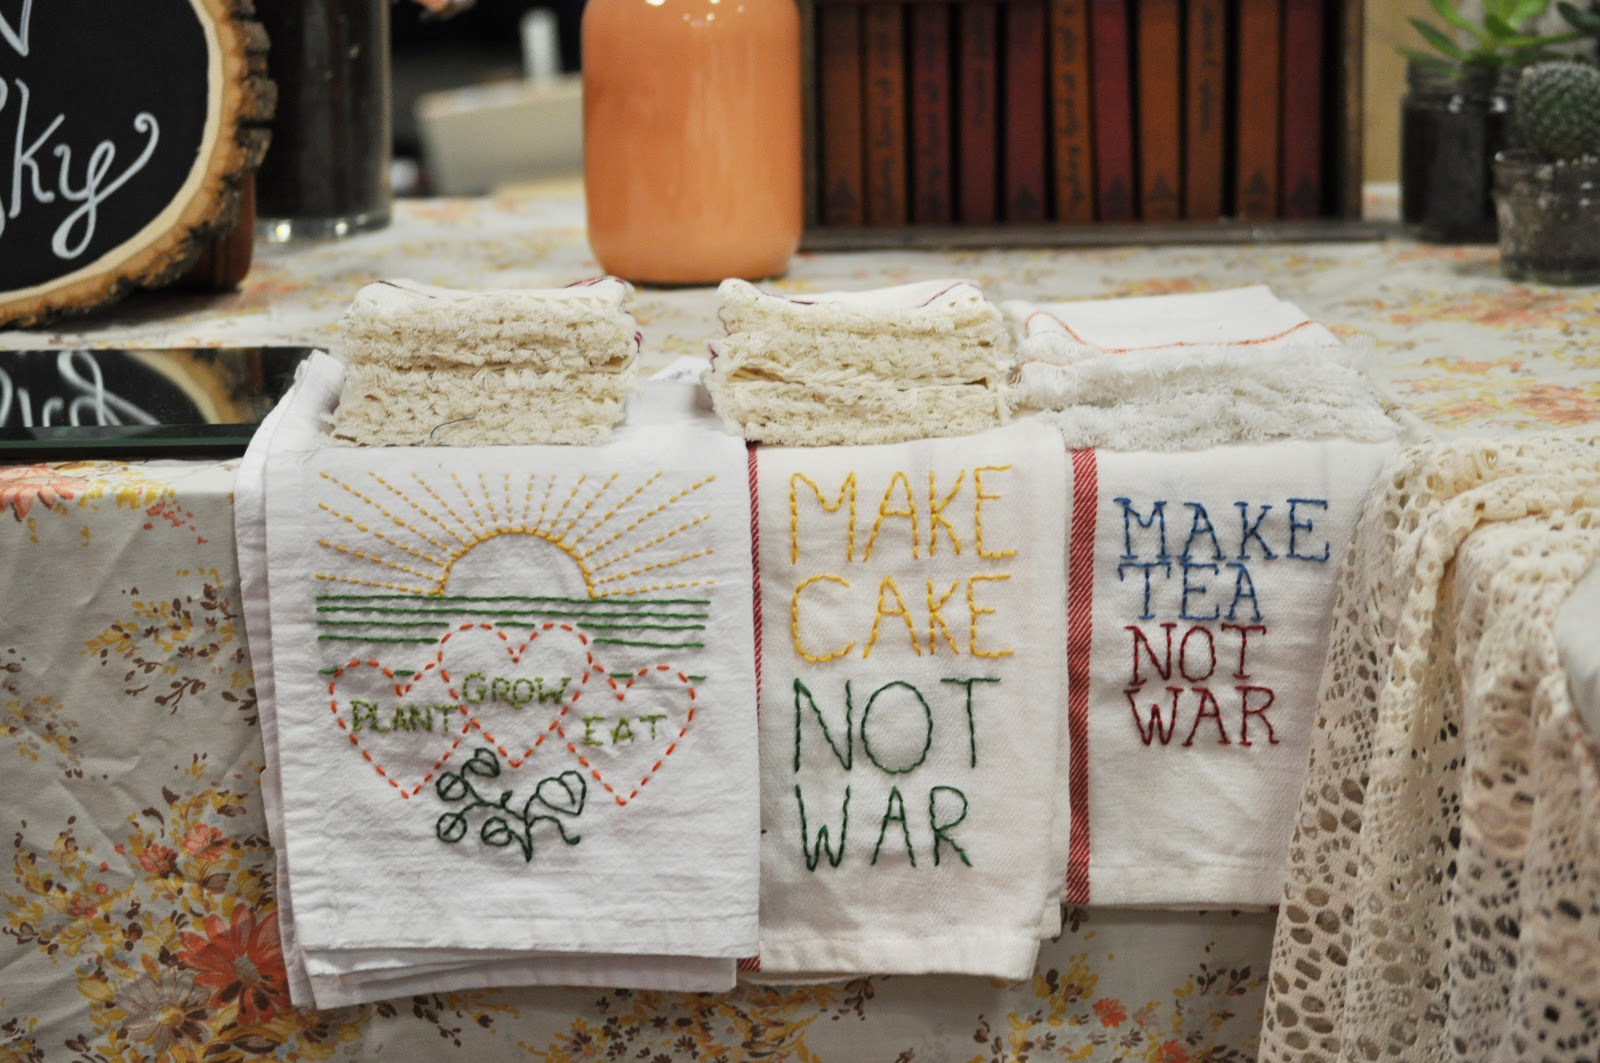
I was recently involved in a local event where I got to set up a Pie N' the Sky booth. I love making little tweaks and changes each time I set up and I love documenting through photos. It's fun to look back through over the years. Thought I'd share a few photos...


I'm hoping to update the shop this next week! Lots of new necklaces and hopefully a brand new product (if all goes well). Can't wait to share! Hope you have a lovely weekend!


xo. melisa

11.28.2012

Renegade Craft Fair + winter


Adrienne and I participated in our second Renegade Craft Fair this past weekend. It was SO much fun and I had a blast meeting new friends from vendors to even a few readers! It was a successful weekend for sure, and getting to do the thing I love with my sister, makes it even sweeter! 

This was such a wonderful experience and we can't wait to do it again in the Spring! 


xo. melisa

footnote: If you'd like to see more photos, you can check out my instagram, @pienthesky

10.15.2012

le booth


Pie N' the Sky was recently at an event in support of a non profit organization called Bridges Safehouse, close to where I now live. Adrienne came down for a visit and as always, we had so much fun! I love being able to share in something that means so much to me, with my sister. 

Since it wasn't a huge event, we decided to keep everything pretty low maintenance and easy to pack up. I snapped a few detail shots, as I love details. I've gone through and shared with you all the diy's, on how to essentially make my booth, so in case you missed em, you can find them here, here & here


xo. melisa


footnote: the winner of the Angela & Roi purse has been emailed! Thank you all for participating. There will be another giveaway this week!

10.10.2012

banner diy

Next up on the booth diy, is my banner! For whatever reason, I seem to change my banner for every booth I participate in. I'm really not sure why, but I do enjoy the change it brings to the look of the overall booth. This one may be my favorite. It's pretty simple and doesn't require much on your end. (pardon the lame-o photos, they were with my phone in not so great lighting. blarg.)
supplies  //  cardstock (or other paper), hole punch, pen, scissors, string (or yarn/ribbon)

steps are as follows // take your paper and cut out your preferred shape. draw out the letters you will want - be sure to make them more bubbly since you will be cutting them out shortly. cut them out. this can be kind of tough with certain letters, and I think an exacto knife may be easier. decorate your paper as you see fit, I chose to put gold dots using a sharpie paint pen. use a hole punch to punch out two holes on the top corners of your shapes. using string or yarn, lace through the holes you just punched out. voila, you have a banner!


I'm most looking forward to my next diy, so be sure to come back and check it out! Happy crafting!


xo. melisa

10.07.2012

geo label diy


Over the next few days I will be sharing how I created elements at my booth for a recent event I was at. First up are these sweet little geo labels, that I used to show prices for my products!

steps are as follows //  pick out a rock. cut a piece of wire approx. one foot long. take the wire and begin to wrap it around the rock, be sure to loop it through other pieces to keep sturdy and in place. twist the end and be sure to leave enough to connect to your label. tape or glue the label onto the wire. I chose to use gold duct tape, but you could use double sided tape to be a bit more discreet. They're ready to go!


I think these would be just darling as name plates for a party or wedding. They're budget friendly and not terribly time consuming. I made about ten while watching the new girl. If you decide to incorporate them into one of your projects, leave a link below so we can check it out!


xo. melisa